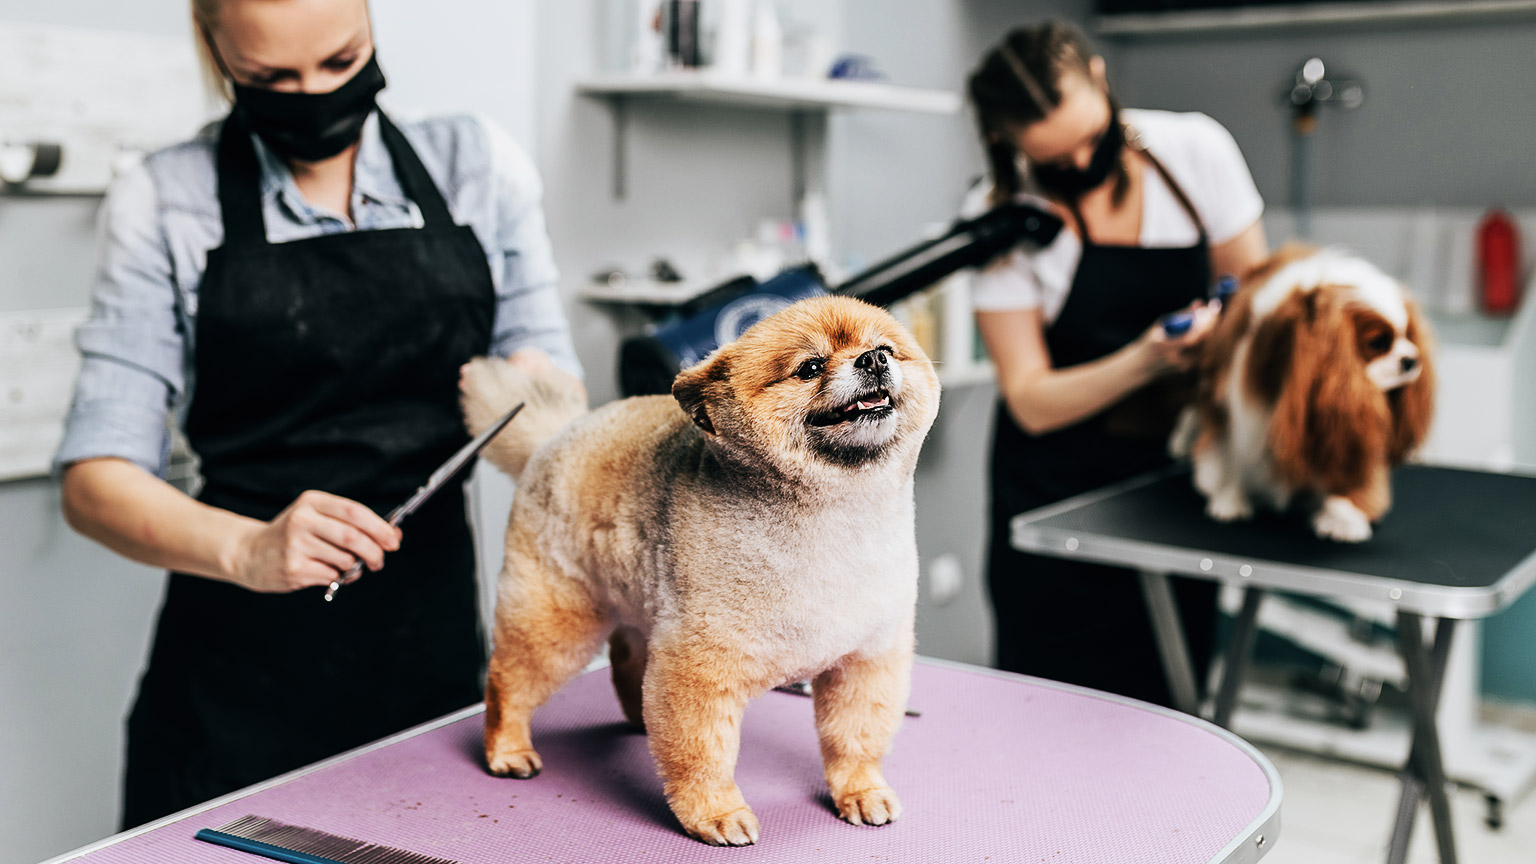
Animal grooming may become part of your daily requirements, it may even be a career path you choose. Regardless of the reason for grooming, it is important to remember that regular grooming is essential to maintaining good animal hygiene, especially with long-haired species. If you are grooming pets, you must observe the animal before you start to groom. You need to be mindful of:
- parasites
- infestations
- disease
- injury
- skin sensitivity
Should you find any of these upon your observation you need to inform the owner and discuss what treatment they may have in place (if they have one in place) and offer the suggestion to consult with a veterinarian for possible treatment.
Before we dive into grooming any further, you must have access to the appropriate equipment before carrying out grooming tasks. It is important to consider, that some of these types of equipment will be exclusive to dog grooming salons and they should already have it in full functioning order.
Some of the equipment may include (but is not limited to) any of the following.
- Shampoos and conditioners, depending on the breed of, you may require a special type of shampoo for example a de-shedding shampoo.
- Brushes.
- Combs.
- Clippers, either with a cord or cordless.
- Scissors: these may include thinners, straight cut, curved, clunkers).
- Nail clippers.
- Hydraulic table or groom table, this is particularly important when you are working with larger breeds of dogs (imagine trying to lift a Saint Bernard up and into a wash tub!).
- Towels.
- High velocity dryer, specifically for grooming for temperature.
- Noose or tether to restrain the animal during grooming (this is the lead that ties the animal to the table when you are grooming).
- Muzzle only if necessary, dogs particularly may become snappy especially when you are trying to clip their nails or trim paw pads.
When it comes to grooming, there are several benefits for the animal. Commonly, you will find dogs being groomed as this can be a challenging task for pet owners to do at home. Some of the benefits of grooming may include some of the following examples.
- The removal of dead hair / skin.
- Skin stimulation.
- The maintenance of a healthy coat.
- Removal of dirt and elimination of odours.
- Support the treatment of skin conditions and infestations.
- The maintenance of claws at a safe length.
- Improve the animal's appearance.
- Helps to keep the animal cool during hot weather.
When it comes to grooming, you need to carry this out in a specific order. This diagram highlights the order in which grooming should take place.
The frequency of basic grooming will depend on the animal's coat, however, as most animals enjoy being brushed, daily grooming is recommended if time permits. You will also need to be mindful of the type of brush you use on the animal. There are several types of brushes used for animals and it is best you choose a universal brush or one specifically for the type of coat the animal has and what you are using it for. The brushes you may need include:
- soft bristle and pin brush
- comb
- slicker brush
- undercoat rake.
Each of these brushes has been presented in the following image slider.
The benefits of regular brushing include:
- Preventing long hair from becoming tangled and matted.
- Removing loose and dead hair (resulting in less moulting inside the house).
- Encouraging healthy skin by removing dead skin cells and improving circulation. This is especially true when using grooming tools such as zoom grooms.
- Early detection of parasites, lumps and skin issues.
- Increasing the human-animal bond between owners and their pets.
When it comes time to carry out the brushing, you will need to follow a simple process.
- Choose the appropriate brush for the type of coat.
- Brush in the same direction as the coat grows to start at the head and working down the neck, kegs, back to the tail.
- Dispose of any fur into the rubbish bin.
- Clean the equipment you have used including wiping down the grooming table or station.
Once you have finished brushing the coat of the animal, you need to ensure you have continued to support hygiene and avoided any cross-contamination. This involves cleaning combs and brushes. When you are cleaning the brushes, ensure you have removed any hair on/in the brush or comb and then wash, followed by a disinfectant. You should always clean and disinfect brushes between animals to avoid spreading any possible parasites or contagious skin matter that may have been picked up during the brushing process. If the brush has missing teeth or any visible damage, you will not be able to use it. It will need to be reported, documented and removed from use until an alternative can be replaced.
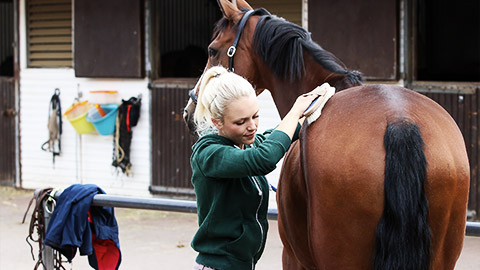
Clipping or trimming is generally carried out as part of routine maintenance of fur. It should be performed after brushing and bathing. Maintenance clipping is usually performed every 6 – 8 weeks.
If clipping is being performed for therapeutic reasons (matted/neglected coat), bathing beforehand may not be required or recommended.
When you are clipping or trimming the animal, you need to be mindful of the equipment you are using and exercise caution because animals can be quite fidgety and if you are using thinning scissors close to the eyes or mouth, sudden movements can cause a hazard to both you and the animal. You also need to check the animal’s coat for clear and visible signs of matting or knots, any injuries or skin conditions including parasites.
When you are trimming or clipping the process should be carried out as follows:
- Wear PPE, apron, and correct footwear
- Identify the type of animal you are grooming, because some fur can grow back differently once clipped, so it is important to know which breeds you are working with so you can clip accordingly.
- Choose the appropriate size clipper blades for the dog or animal you are grooming.
- Sedate the patient if necessary
- Always use scissors of shears around the eyes, ears mouth and feet.
- Use clippers around the legs, neck, back and stomach
- Dispose of any fur clippings as per relevant legislative requirements
- Clean all equipment used with appropriate cleaning process and disinfectant.
Cleaning and maintaining equipment
Once you have finished clipping or trimming the dog or the animal you are working with, it is important to maintain the equipment. You need to look after it to keep it in good working order. When you are cleaning the clippers, there is a simple procedure that can be carried out when cleaning scissors or clippers.
- Brush to remove excess hair
- Wash scissors in water and detergent
- Use blade wash to wash/scrub clipper blades
- Disinfect blades
- Apply blade oil to maintain blade integrity
- Check the equipment for damage, if the equipment is not in proper working order, you will need to tag it and remove it from use. You will also need to notify your supervisor and document it in the appropriate register.
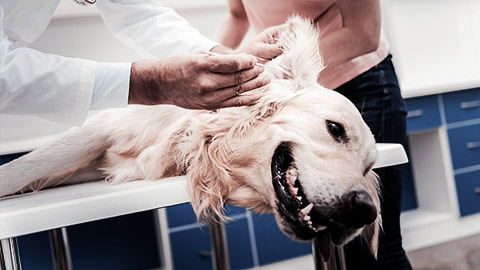
Cleaning the ears of the animal is also part of the grooming process. Dogs and cats can have wax build up in their ears just as people can and this must be maintained. Remember, dogs have sensitive ears, so you need to ensure you are careful when you are cleaning the ear canals.
The following process outlines how you should carry out the ear cleaning process
- Wear appropriate PPE including gloves and an apron.
- Check the ear for infection by looking into the ear canal for any redness or smell. It is normal for an ear to contain wax that does not have a smell.
- Apply a gentle ear cleaner to the ear canals and massage gently for approximately 20 seconds
- Use cotton wool to gently remove any dirt or muck
- Repeat this several times until there is no more dirt or muck
- Dispose of any waste materials into the rubbish bin
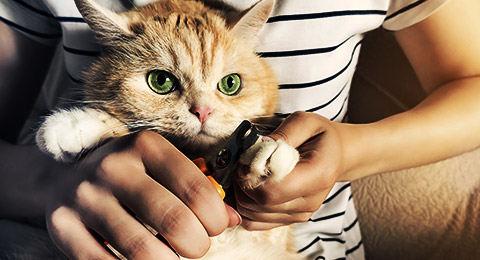
Part of grooming also includes nail clipping. Nail clipping is required when nails become too long and interfere with everyday functions or create a risk of tearing.
The centre of the nail contains a 'quick' which has nerves and blood supply. Care must be taken to avoid cutting the quick as this will cause discomfort to the animal and bleeding. Animals with white nails can be clipped with ease as the quick can be seen in the centre of the nail, dark colour nails require a little more care as the quick cannot be seen.
Steps for clipping nails:
- Fully extend the claw/nail
- Trim in line with the footpad (if unsure trim back in small sections until you can see the pulp.
- Be sure to check dewclaws if present.
- Ensure you dispose of any nail clippings
Be sure to regularly check the animal to ensure there are no changes to their behaviour
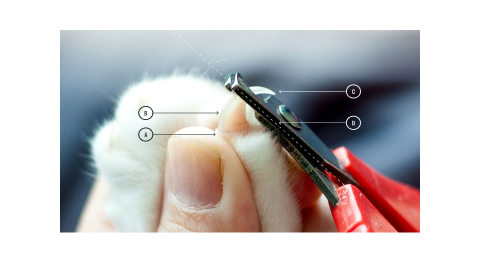
- Sheath
- Quick
- Claw
- Cut line
Like any other equipment you use, nail clippers also need to be cleaned down they are used on any other animal. The clippers will need to be wiped with disinfectant or an alcohol-based sanitiser. Once you wipe them down, you need to check them for any damage. You will not be able to effectively clip nails with broken or blunt clippers. When you find that clippers are not in working order, you need to notify the veterinarian or a supervising staff member to have them repaired or replaced.
In addition to brushing, you will likely need to bathe the animal. When it comes to bathing, animals are bathed for two main reasons: Therapeutic and Non-therapeutic.
- Therapeutic bathing is performed to treat or control a specific condition and may involve the use of a medicated shampoo. Medicated shampoos have a direct effect on the skin or the organism, for example, ringworm, fleas and their eggs.
- Non-therapeutic bathing is performed to assist in the maintenance of a healthy coat, remove dirt and control odours and requires the use of standard shampoo.
Animals should be bathed only when necessary as excessive bathing may lead to dry and itchy skin. Bathing for skin disorders must be guided by a veterinarian. It is very important that only high-quality pet shampoos are used, due to the pH of the skin.
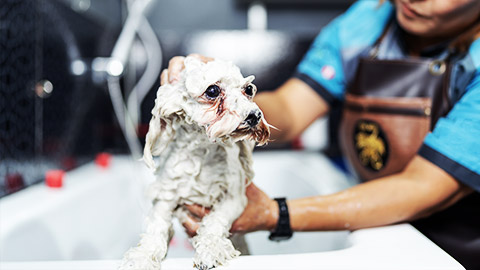
When it comes to bathing and drying an animal, you need to follow a specific process to ensure you are bathing the dog adequately. Bathing can be carried out either in a surgical sink or a hydro-bath. Let us take a look at both of these methods of bathing.
Sink Bathing
Sink bathing is straightforward compared to the hydro-bath which has several functions to. Sink bathing is a suitable form of bathing and is often carried out at many veterinary clinics, animal holding facilities and hospitals.
Bathing process
The following steps outline the bathing and drying process when using the sink bathing method. It is also important to consider, bathing does not come without precautions. You must consider safety when you are bathing and drying an animal. Safety precautions have been highlighted in the following process.
- Wear appropriate PPE this will include aprons, earmuffs, and sturdy shoes such as boots.
- Be prepared by collecting all the resources you need including the correct shampoos (medicated, natural or normal), conditioners, towels and a dryer if using.
- Place a non-slip mat down on the bottom of the sink, and erect any relevant signage for slippery or wet floors.
- Collect the animal.
- Turn on the tap to allow the water to get to the right temperature, this should be warm.
- Place the animal in the sink and ask another nurse or supervisor to hold the animal whilst you bathe them unless you can safely secure them
- Wet the animal all over.
- Place the hose down and lather a small amount of shampoo over the patient avoiding contact with the head area, particularly around eyes and ears.
- Rinse the shampoo.
- Apply conditioner- this can be either wash off or leave-in conditioner depending on the animal
- Towel dry the patient.
- Plug the dryer into power and continue to dry the animal without causing too much stress. Continually monitor the animal for signs of stress during the drying process.
- Remove the animal from the sink and return to the housing area.
You should always be mindful of the animal as you are bathing them. In many cases, animals may not like the bath or the drying process and may become distressed. It is important you address the needs of these animals if it becomes overwhelming for them, you may need to cease bathing and drying and opt for a sponge bath and towel dry.
Once you have finished the process of bathing you need to clean up afterwards.
The cleaning process is straightforward unless the animal being bathed has an infectious disease. In which case, they would not be bathed in the common bathing area and the washing will need to be kept separately.
When you are cleaning after a bath you should:
- Place all used towels in the wash.
- Clean out sink with hospital grade disinfectant and dispose of all fur as per relevant legislative requirements.
- Clean all PPE and dispose of all non-reusable PPE
Fun fact!
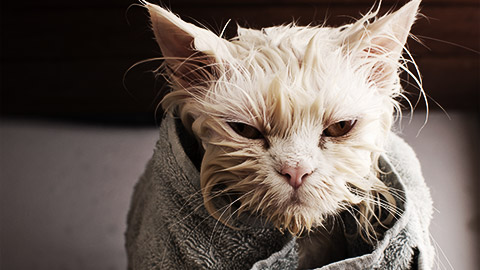
Did you know that cat coats can take longer to dry than dogs?
Hydro-baths
Hydro-baths are baths with circulating water under pressure, specially designed for bathing dogs. There are benefits and disadvantages to using a hydro-bath instead of a sink or tub and should be considered based on the individual dog. Many dog grooming salons will be equipped with a hydro-bath and may be the preferred option. The following comparison table outlines both the advantages and disadvantages of using a hydro-bath.
| Advantages of a Hydro-bath | Disadvantages of a Hydro-bath |
|---|---|
| Pulsating jets massage coat and remove loose skin/hair. | Noise can scare the animal. |
| The height of the hydro-bath can reduce bending. | Need to monitor water temperature on heated units |
| Water can be recycled. | Heating water up takes time and consumes electricity |
| The animal can be walked in. | Heating water up takes time and consumes electricity |
| Twin tub units allow for changing from shampoo to rinse easily. | Recycling water means the dog is being bathed in the same water. |
| Sides contain water and reduce slip hazards. | Difficult to disinfect inside hoses and reservoirs |
Hydro-bath process
When you are using a hydro-bath you should consider the following process to ensure bathing is carried out effectively.
- Wear appropriate PPE this will include aprons, earmuffs, and sturdy shoes such as boots.
- Be prepared by collecting all the resources you need including the correct shampoos (medicated, natural, or normal), conditioners, towels and a dryer if using.
- Erect any relevant signage for slippery or wet floors.
- Fill hydro bath chamber according to instructions with warm water and a small amount of shampoo
- Close lid to water chamber and place nonslip mat down on the bottom.
- Collect the animal and place them into the hydrobath, secure animals to either the side of the hydrobath or the wall and slide entrance closed.
- Start Hydrobath and wash the animal avoiding contact with the head area especially the eyes and ears.
- Empty the water chamber and rinse the shampoo off the animal with warm water.
- Apply conditioner and either wash off or leave in.
- Towel dry the animal.
- Plug the dryer into power and continue to dry the patient without causing the animal to stress.
- The animal may require Parasite control.
- Apply Cologne spray for extra fragrance.
- Remove the animal from the Hydro bath and return to the housing area.
Once you have finished bathing and drying the animal, you will need to ensure the hydro-bath and drying area have been properly cleaned. The post bathing cleaning process is fairly straight forward as outlined in the following process.
- Place all used towels in the wash.
- Clean out Hydrobath with hospital grade disinfectant and dispose of all fur as per relevant legislative requirements.
- Clean all PPE and dispose of all non-reusable PPE.
- Report any aspect of the hydro-bath that is not in working order or damaged to the supervisor. If necessary, consult the manufacturer and arrange for repair. Ensure you have documented this in the damaged equipment register.
Snakes and other reptiles regularly shed their skin as they grow. This is largely a self-regulated process however there are some care techniques you can practice and apparatus that you can use which may assist the process:
- Ensure there is adequate water in the enclosure to allow for the animal to soak itself.
- Spray a water mist into the enclosure daily to increase the humidity.
- Include some objects with rough surfaces such as fake rock or branches so the animal can rub against them.
Before a snake sheds its skin, it may reject food and appear to have a dull colour tone and hazy eyes. These are all normal signs that shedding is imminent and shouldn’t be a concern. Once shedding has occurred, remove the discarded skin. It often contains faeces so is not always suitable for keeping as a souvenir. Ensure you always thoroughly wash your hands before and after handling reptiles. They can and often can spread infection and this needs to be minimised as much as possible.
You should also consider, not all reptiles have the skin they are likely to shed, turtles or tortoises have a hard exterior shell. If you are grooming or cleaning these reptiles, you need to check the shell for any significant damage and consult with the owner or handler if they had noticed it.
