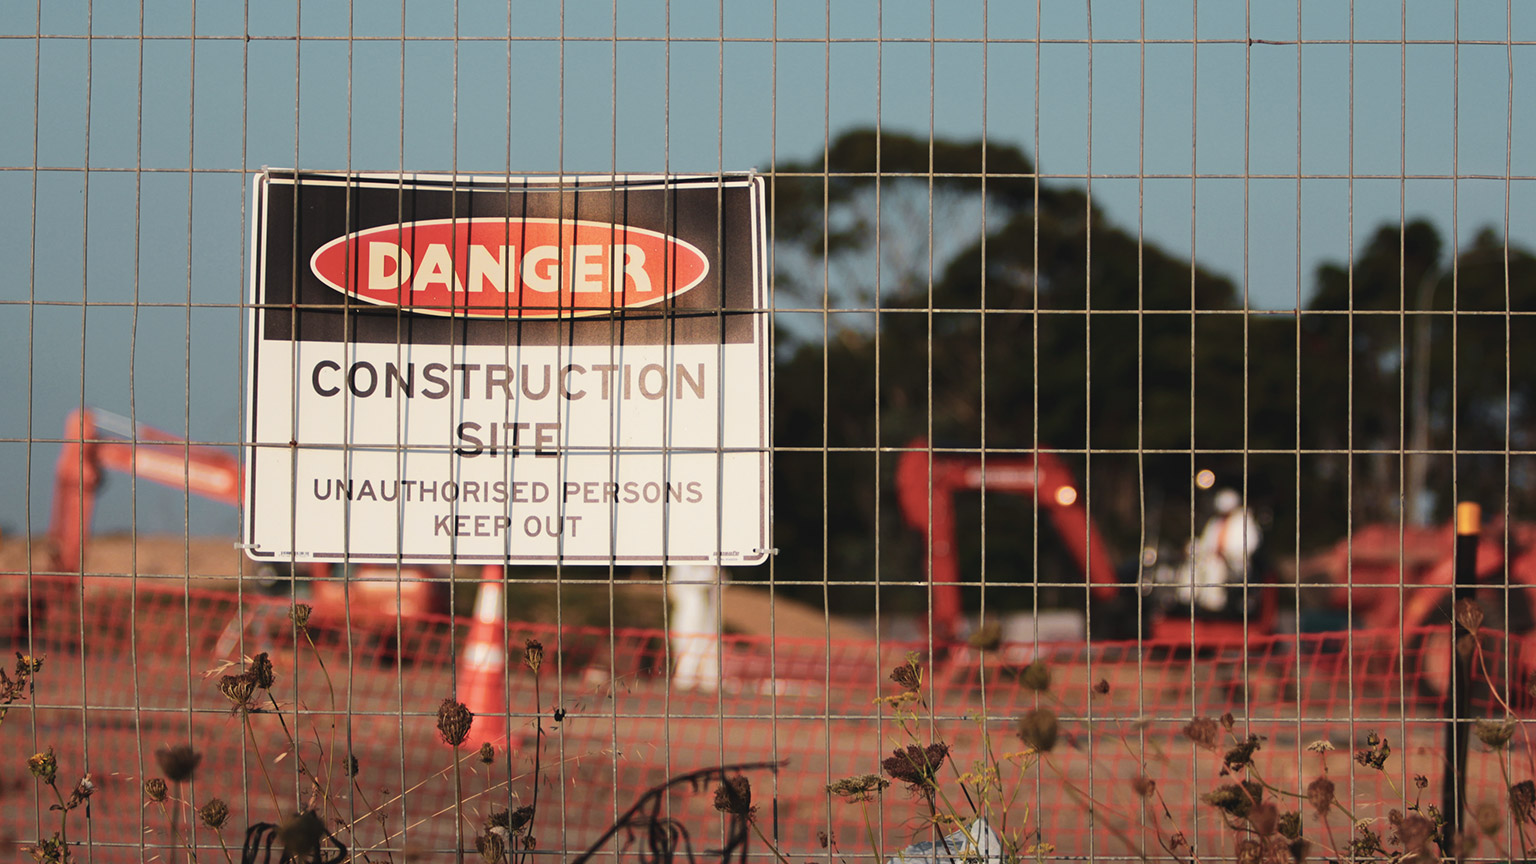
In this topic, we will look at what is considered best practice when sequencing the required site planning.
Our aim is to:
- Structure initial site procedures and practices to meet best practice guidelines.
- Deconstruct project identification title requirements.
- Determine site prerequisites.
Quality is delivering a service or product to a customer without any defect being present or associated.
Construction projects are a balance between cost, time, and quality. It is possible to have high quality and low cost but at the expense of time, and conversely, to have high quality and a fast project but at a cost.
If both time and money are restricted, then quality may suffer. High quality is not always the primary objective for the client; time or cost may be more important.
Specifying a very high-quality standard is only realistic if the budget and time are available to achieve that standard.
Your standard of planned practices on your construction project will guarantee optimal outcomes and quality, regarded as "best practices" in construction.
These practices can be your everyday procedures and activities implemented at a given period. The best practices for one project won't be very helpful for a different project. But in general, there are common best practices that can be done with complete excellence that will boost any construction project.
The best practices for one project won't be very helpful for a different project. But in general, there are common best practices that can be done with complete excellence that will boost any construction project.
Pre-construction Meeting
Suppose the project is large or very complex in its approach. In that case, it is useful for the designer, project manager, site supervisors or main contractor to meet with the client to understand the needs before generating a checklist of activities and before any construction begins. This is the time to review the drawings and specifications again to start envisioning listing the required activities.
Work Break Down Structure
List your activities within each work breakdown division for the entire project. DO NOT set the durations just yet. Once completed, review or get peer review with parties involved, ensuring everything has been listed or covered.
At this point, you would determine the construction methodology; breaking the construction process into five main stages is useful.
- Foundations
- Structure
- Cladding
- Internal works
- Completion
Activities Duration
Often, it takes many years of building experience to understand productivity or how long or short something should take. There are plenty of great construction resources online or through peer discussions. The duration of these activities should now be based on reality.
Collins English Dictionary defines a checklist as:
A list of all the things that you need to do, information that you want to find out, or things that you need to take somewhere, which you make to ensure that you do not forget anything.Collins English Dictionary
So remember, these lists are a set of items or activities that a site must adhere to and verify, some with inspections to ensure that the systematic process of a project is being correctly implemented.
Begin Building Work
The designers or site LBPs will observe and adhere to the construction processes and checklists within the signed contract agreement.
From a construction perspective, this breakdown is a good way to maintain control over the construction build. You or your workers can generate and complete a daily checklist to oversee daily processes.
Inspections
Procedures for inspection during construction should have been organised at the consent/pre-construction meeting stage. Inspections will occur at strategic points during the construction to ensure compliance with the consent can be verified.
Building work completion
Check that copies of the energy work certificates for the project and other relevant documents, such as producer statements and manufacturers' warranties, have been collated and provided to the BCA. Also, remember you would need to check that any outstanding fees and development contributions have all been paid.
What is a Producer Statement?
A producer statement is a professional opinion based on sound judgement and specialist expertise.
These producer statements are widely used in the construction industry. Still, they have no particular requirement under the Building Act legislation.
Taken from Building Performance NZ, these "PS" statements are used as a source of information that councils will rely upon to determine whether there are "reasonable grounds to conclude that the work complies with the Building Code".
Producer statements are typically used for specialist work conducted by sub-contractors or contractors such as steel works or engineers to which they have installed. Aspects of this work style will be outside the council's in-house expertise. A producer statement can assist the council when determining whether the building work complies with the Building Code. There are currently four types of producer statements.
They are known as:
- PS 1 – Design,
- PS 2 – Design review,
- PS 3 – Construction (often used by the installers of proprietary systems),
- PS 4 – Construction review.
The following reading gives an in-depth breakdown of the essential four stage process to follow to achieve a successful build. Understanding these stages will better equip you with what to do and when to do it.
Visit this building webpage for more information.

Many accidents can be directly attributed to poor housekeeping.
A high standard of housekeeping inevitably means cleanliness is as essential at work as at home. Good housekeeping (site tidiness) involves managing everyday aspects of site practices, ensuring that safe work practices are followed, and staff are aware of potential hazards through their actions.
Carrying out good housekeeping practices on-site includes:
- Tidy as you go. Cleaning up at intervals throughout the day.
- Not letting waste and rubbish accumulate on site.
- Promptly remove grease, oil, solvent, paint, water, or other spillages.
- Keeping the floor, passages, stairs, and other access ways clear of obstacles, obstructions, and rubbish.
- Materials are unloaded and stored away from evacuations and work areas. At the same time, protective wrapping is left in place until immediately before a material is required.
- Keeping fire exits clear of materials and built-up rubbish.
- Where storage space is limited, materials should be delivered just before they are needed and always follow the supplier's recommendation for storage.
- Keeping equipment clear of other materials and rubbish. Timber should be stacked neatly on a level area supported off the ground, preferably on bearers.
- Storing tools, equipment and chemicals in the correct place.
- Covered storage should be provided for items that need to be kept dry, such as cement or tiles.
The key to having successful housekeeping on site is not just while construction is taking place. This concept includes protecting completed work from damage and ensuring that any surplus materials are properly disposed of or removed off-site.
In the industry, these principles of housekeeping are used in the term "Site Delivery Ready". When in doubt, you can request an on-site inspection from the vendors to avoid potential delivery delays and extra-delivery charges.
Remember, most delivery staff are not permitted to change the site (e.g. remove scaffolding, nogs, or balustrades, move debris).
Site Activities Checklist
Pre-site preparation is an activity that should be done accordingly for other construction activities to begin successfully.
The failure and success of pre-site preparation sets the condition and the tone for other on-site construction activities. When site preparation is done correctly, all activities should be straightforward.
Read more about site preparations and soil testing here and then complete the following activities.
"Construction material costs typically amount to 50–60% of an average construction project cost. Their timely delivery controls 80% of the project's schedule, and transportation costs of construction materials equate to 30% of the total construction costs". These figures are referenced from NZ Build magazine issue 134.
Before erecting a building on any site, all rubbish (harmful or organic) should be removed. Deliveries must be brought onto the site in time, neither too early nor too late. When orders are placed, always get into the habit of providing a delivery date. Usually, site deliveries are controlled and recorded using a delivery sheet and diary entries.
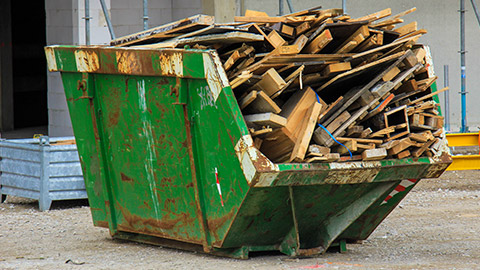
Small builders generally do not have set delivery procedures, as the builder is frequently not on-site when deliveries are made. However, it is important to physically check each delivery against the delivery sheet at the earliest possible opportunity.
You must phone the supplier if some items are missing from the delivery. A subsequent delivery is then organised. Sometimes, a company representative will be sent with the missing supplies. This delivery process is similar to larger construction builds. However, often, they have a delivery acceptance slip to be filled in by the site supervisor, which is then forwarded to the site office.
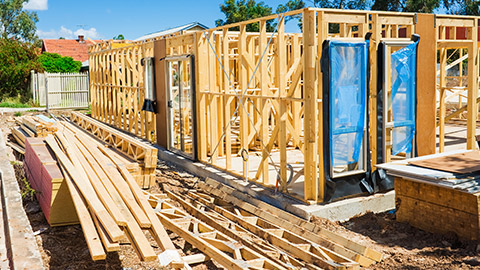
All building materials and components should be correctly and safely unloaded and stored on-site to protect them from damage due to weather, ground conditions, or work being carried out around them. The manufacturer's trade instructions usually outline their recommended storage practices for their materials.
If not, asking the question to fellow more experienced workers will help show your colleagues that you are concerned and aware of quality standards in your work practices.
The general worksite practice is that items should be stored clear of the ground or on an even platform. It can then be covered to protect them from the sun, the rain, or thieving eyes.
Many construction items require covering, preferably indoor storage if it is available.
Timber, particularly if delivered wet, should be filleted and stacked to allow it to dry. Any windows should be stored on their edge.
Any other materials susceptible to water damage should not be delivered until dry-covered storage is available.
It should be common understanding that any items that could easily be damaged or stained, such as glass windows, doors or finishing items, should be delivered to the site just before installation.
Any sheet materials should be secured against potential theft or uplift from weather conditions.
Auckland City Council have produced an informative, practical guide on managing your building site to prevent runoff. These runoff or construction dirty water goes into the stormwater drains, pollutes waterways, and kills fish and marine life.
Watch the following video and answer the three questions that follow.
For all building work, the conditions and location of the particular site must be fully investigated before construction begins. Information from territorial authorities' (TA) records should be used in conjunction with a comprehensive on-site inspection.
Where the construction project is being carried out, it will usually be necessary to:
- Identify the project location and the boundary lines
- Determine the ground conditions
- Verify the location of underground and overhead services
- Obtain site levels accurately
- Verify the position of any existing structures.
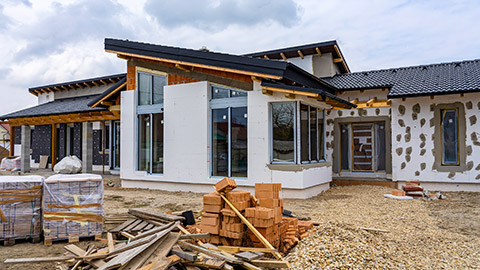
Three common labels are used in the industry with land identification. These labels outline the main sources of information used to locate the land upon which the construction or building would be carried out.
1. Certificate of Title
A Certificate of Title can be obtained from the Lands Title Office. This will give the property's legal description and its ownership history. This Certificate of Title will detail any encumbrances on the land and identify any covenants (a covenant is a condition the buyer must agree to when they buy the property).
2. Deposited Plan
A deposited plan is prepared by a registered surveyor and approved by the local TA, from which copies can be obtained. It forms part of a legal description of the property.
The deposited plan will show the following information;
- The area in m2.
- The compass bearing from true north to each boundary line.
- The length of each boundary line.
3. Lot Number
The lot number of the site will appear on the Certificate of Title. Any site's "legal description" includes the lot number and the Deposited Plan (DP) number.
An example of this may look something like lot 8, DP1849..0
Using a 'lot' and 'DP' number is a much more accurate description of the site than a street and house number.
The next step is to identify the actual size within the piece of land, so it must be 'set out' before excavating the proposed building site.
This involves working out the location of the building on-site and the extent of the building. The designer takes the first steps in the building's set-out procedures.
They are in the best position to give clear set-out instructions on the drawing for the builder to follow and put up.
Survey Pegs
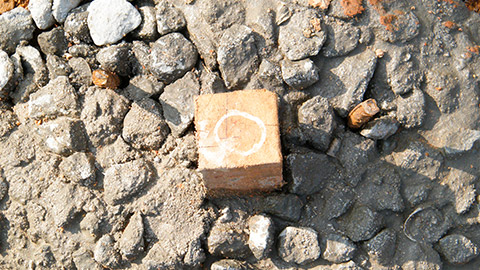
When building a house in a new subdivision, the new survey pegs will be easy to find. However, in many commercial applications, a surveyor must identify the site and then set out the required boundaries.
When work is being conducted within an existing building, the work site will be within the footprint of the building. The builder will have gridlines or other points to work off in such cases.
Four common methods of identifying information on site to assist with the 'set outs' are:
- Survey pegs/marks
- Site plans and boundary markers
- Datum points
- Grid lines
In all cases, construction work needs to be measured from known points to locate the true site information for the build.
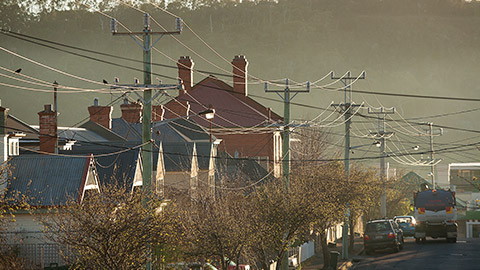
Once you have identified the correct piece of land where the construction site will occur, we need to locate and highlight any on-site services.
The location of these services must be known before work starts. This is not only for health and safety reasons, but we can also avoid reworks and delays further down the track. The appropriate service technicians should disconnect all related services.
Locating Service Information
Information regarding a site's infrastructure services and main utility service locations are available on the property information memorandum (PIM) or land information memorandum (LIM). Local authority records such as building consent application documents and Code Compliance Certificates may provide additional information on these service locations.
Carry Out A Visual Inspection

Remember to inspect the site visually to check for signs of service lines and connections. This is very important in refitting and renovating existing structures, as these will likely contain services you do not want to interfere with.
Local gas, power and telecommunications companies should have information about these site locations of their underground services, so don't forget to ask.
Security on a Construction Site
As you know now, the construction industry is a vast and valuable industry that involves both the storage and ongoing use of high-value materials, tools, and machinery.
These items would have a resale value, making construction sites a highly profitable magnet for criminal activity. As such, every year, the construction industry loses millions through theft and approximately the same amount again through vandalism and fire.
The simple rule to this is "lock it or lose it," which should always be applied.
Site security is an important aspect of site setup, and goods should not be on site unless you can guarantee their security at all times to reduce these financial burdens.
Physically, your site could implement the following:
- Video surveillance
- An alarm system
- Warning signage
- Additional lighting at strategic places
- Access control such as fencing, barriers and locking away items when unused.
Operationally, your site could implement the following:
- Manned guarding or monitoring
- Limit the amount of access points
- Provide lockable storage areas
- Vehicle key protocols
- Entry and exit monitoring
- Managing security technology/workers
- Managers sharing full involvement in site security/team communication.
Unauthorised access and trespassing onto a construction site also present several overall threats and risks to your project.
These could include:
- Threat to project operation - Ongoing works and re-scheduling causing project disruption.
- Threat to property and materials - Unsecured sites are vulnerable to theft and damage.
- Threat to life - Trespassers could cause damage that has the potential to injure, hurt or kill fellow workers; for example, someone might rip out fixtures, leaving unsafe wiring and possible electrical hazards.
An example of these potential risks on-site can be read about in the following Stuff news article.
Every construction site is different in its location, environmental factors, and needs. But to achieve effective operational practices, there needs to be a standard of physical and operational fundamental methods applied.
