
Yoobee Online has tools for you to use to collaborate and communicate with your students.
A learning community is especially important for students and the Yoobee Online team. Enabling collaboration between students and teaching staff as well as student to student breaks down the isolation of online study and encourages community-based learning.
Yoobee Online provides collaboration through the following tools:
- Messaging
- Forums
- Live Sessions (video)
The platform is provided by eddy. A great source of information and help/guides is here. LINK
__________
TBA
__________
- To enable academic support with teaching staff and to enable the peer-to-peer interaction, Yoobee Online has an in-platform message centre
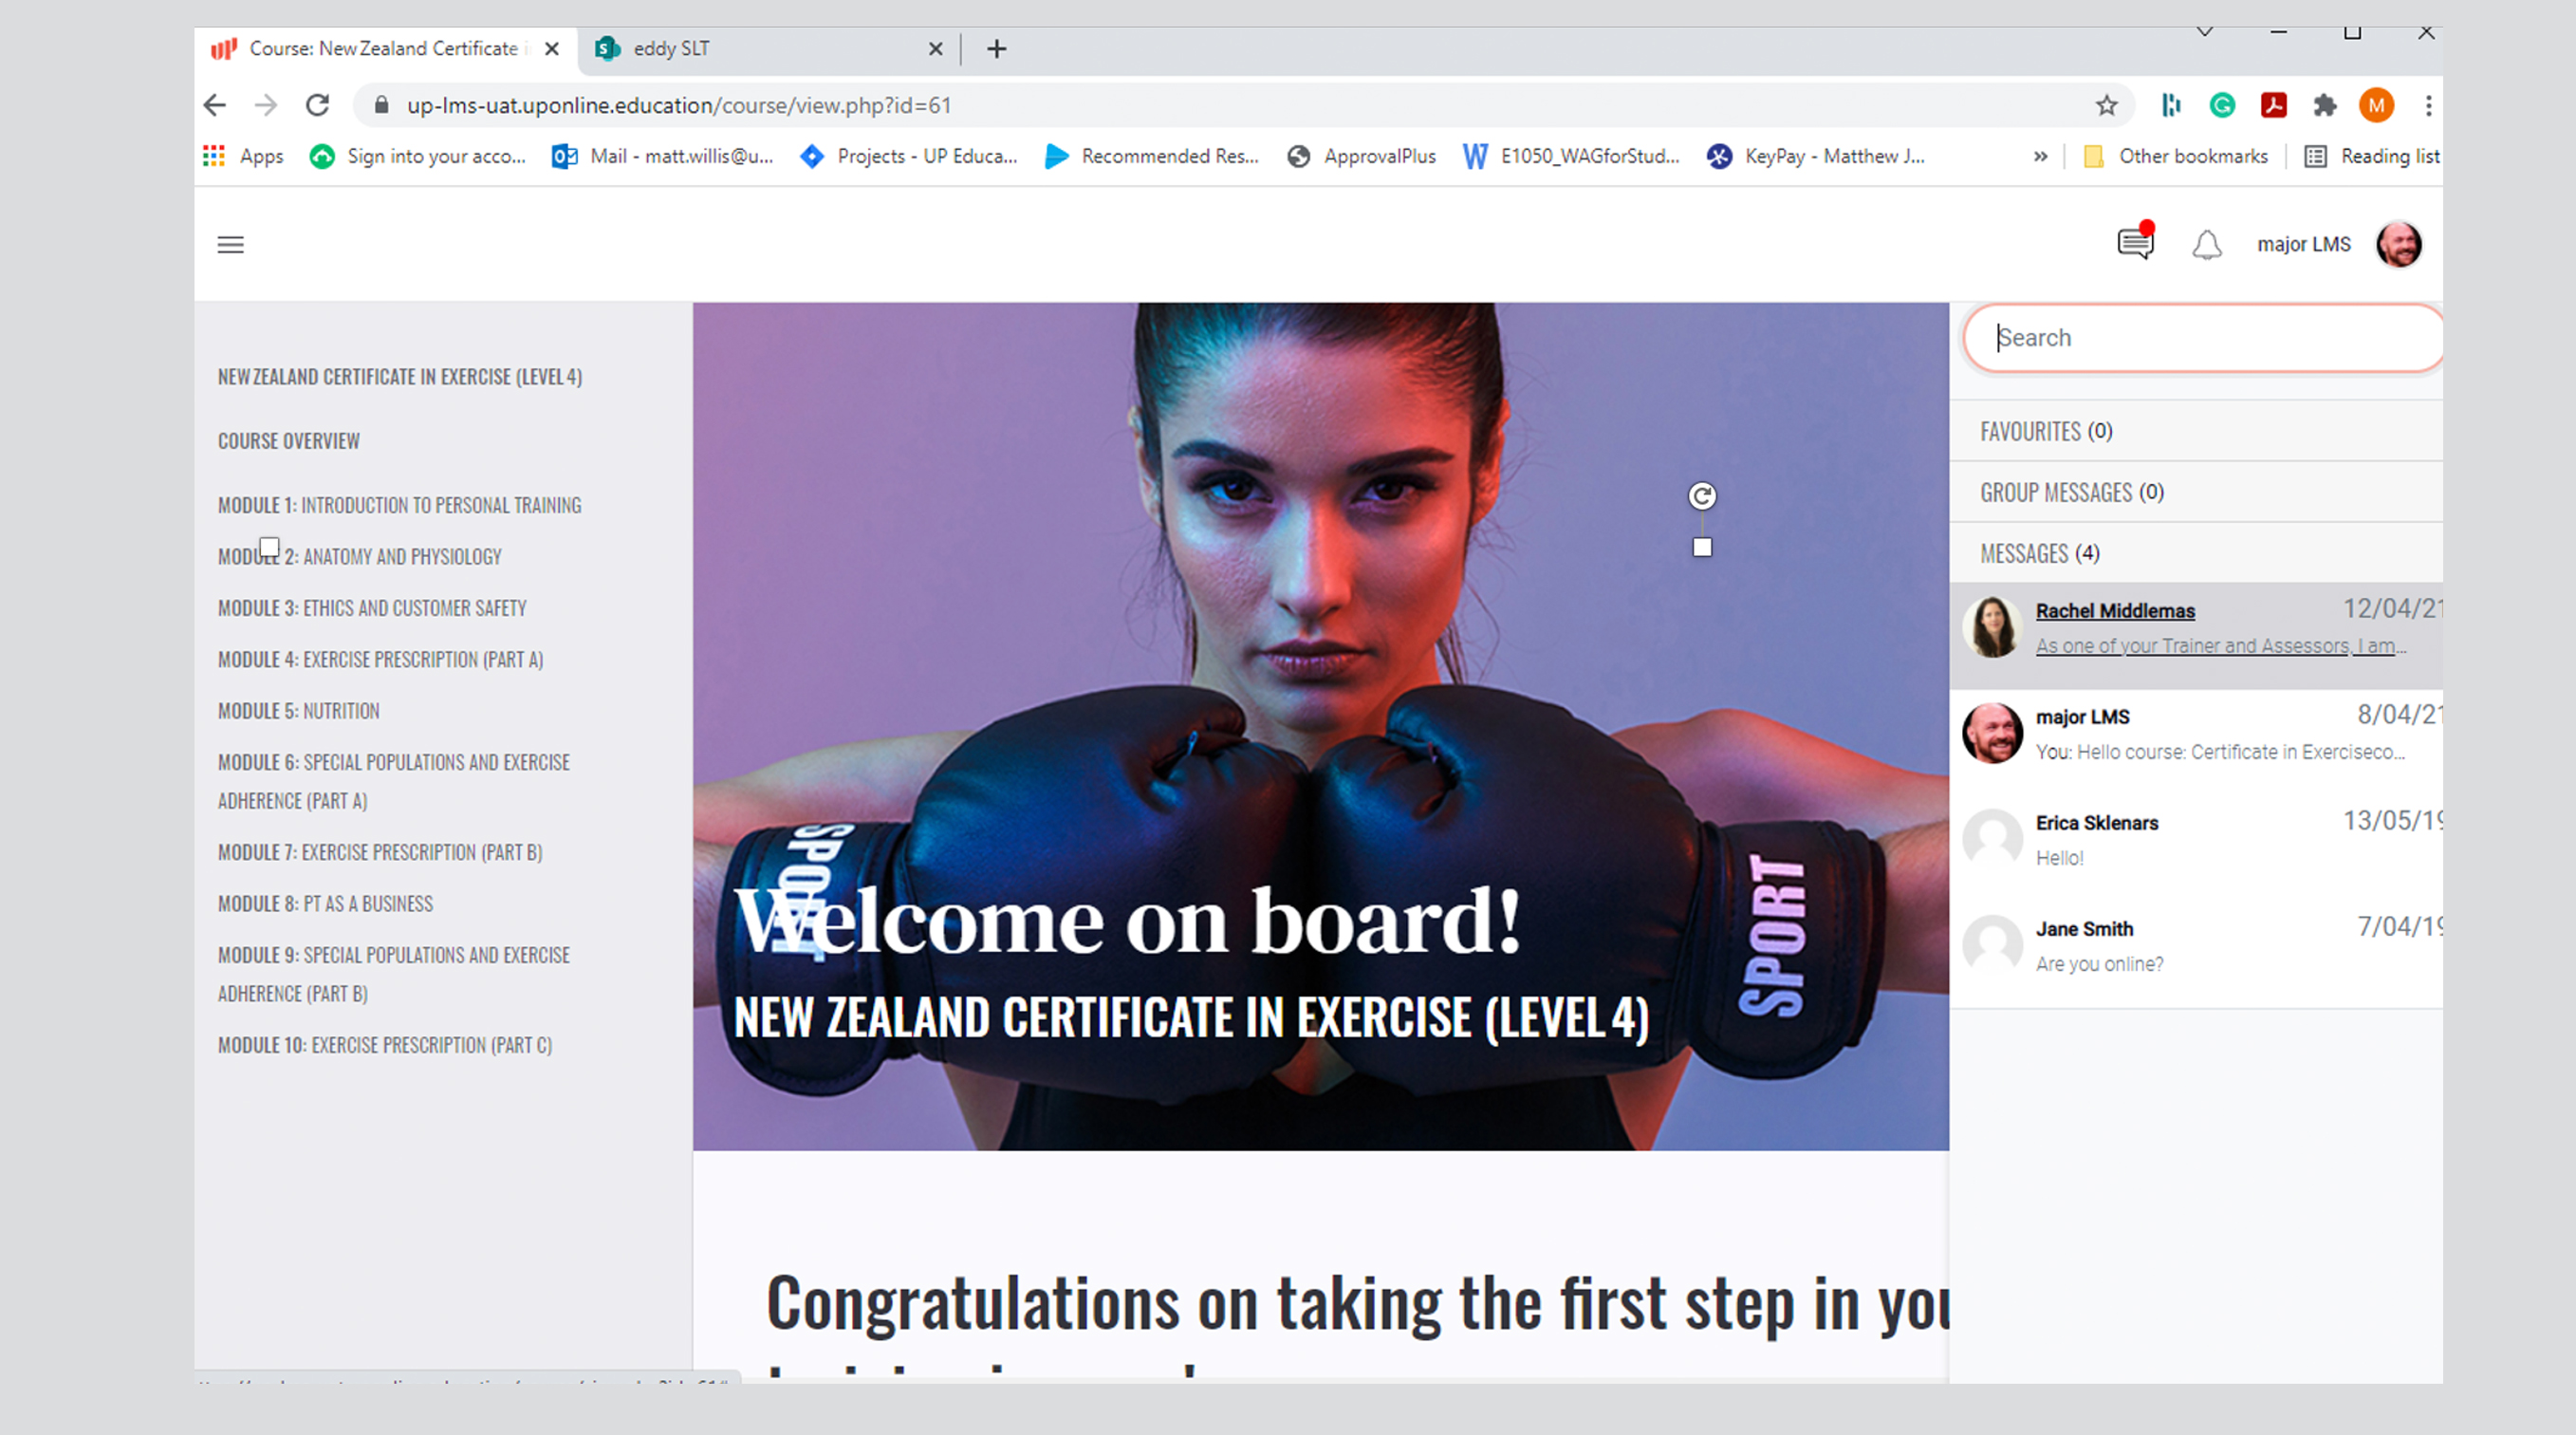
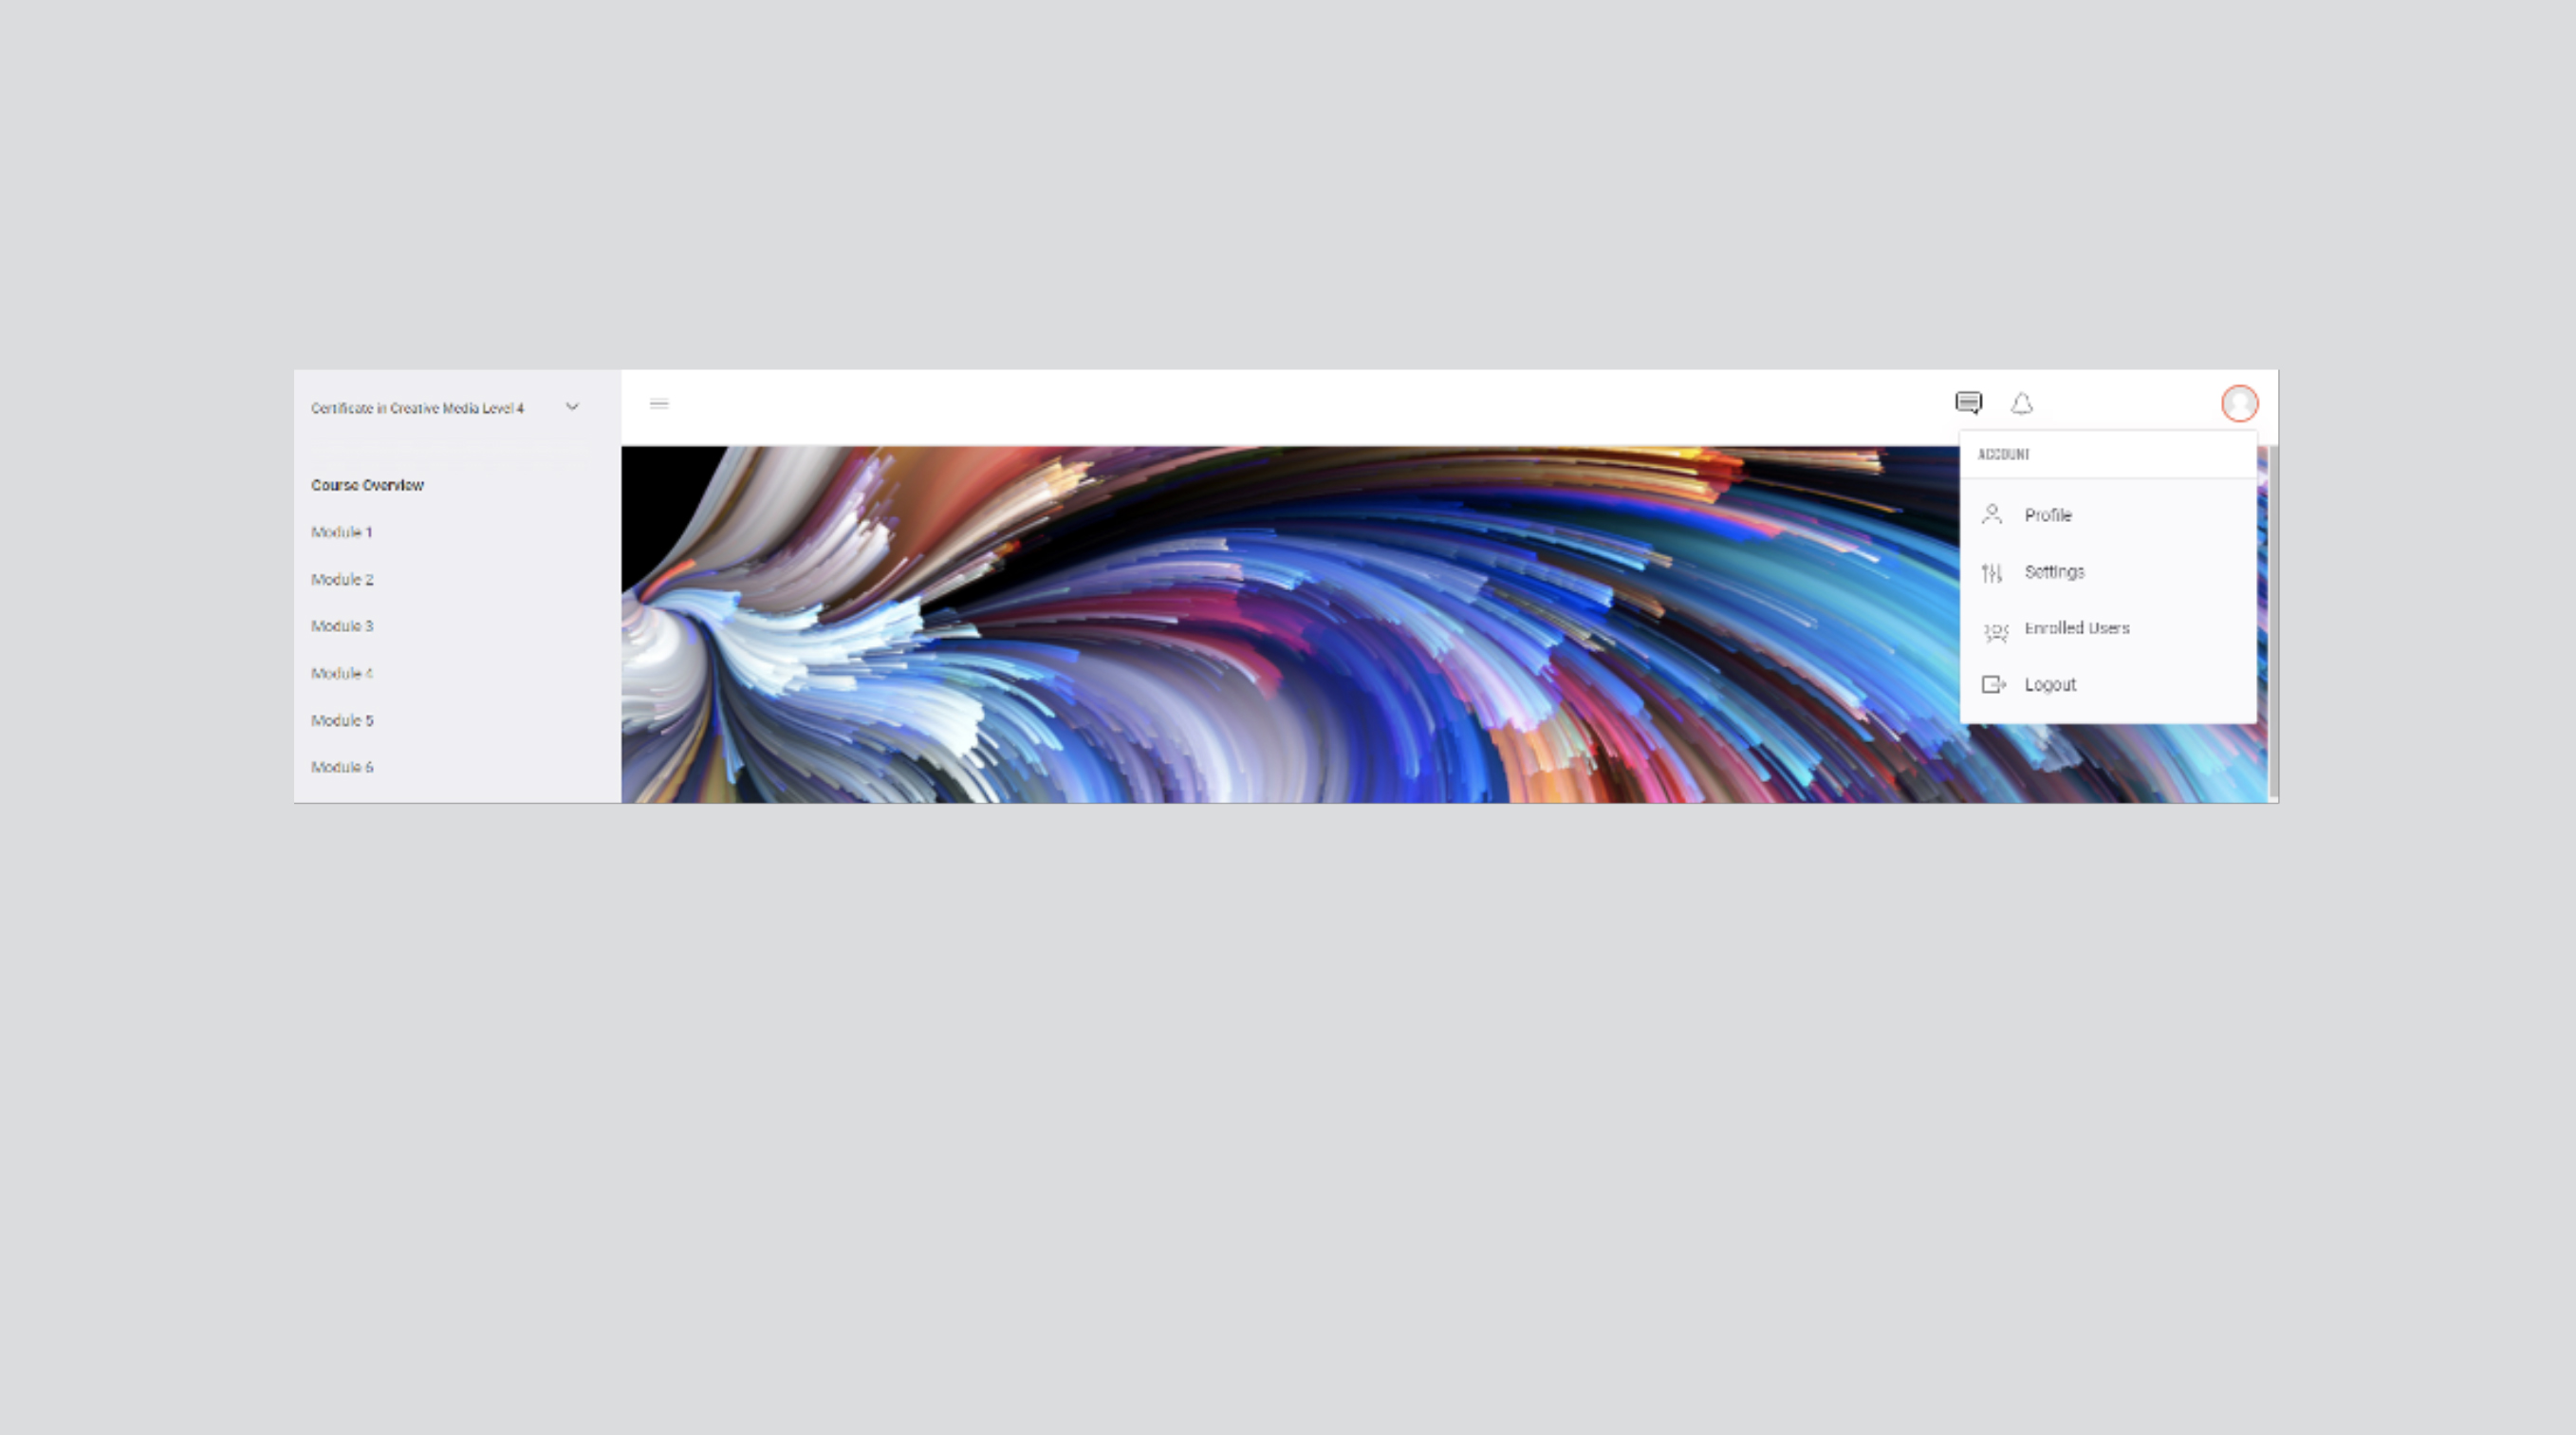
- When you login to Yoobee Online, you will see in the top right there is a message icon.
- Click on the message icon and the platform message centre will appear on the right side of the screen:
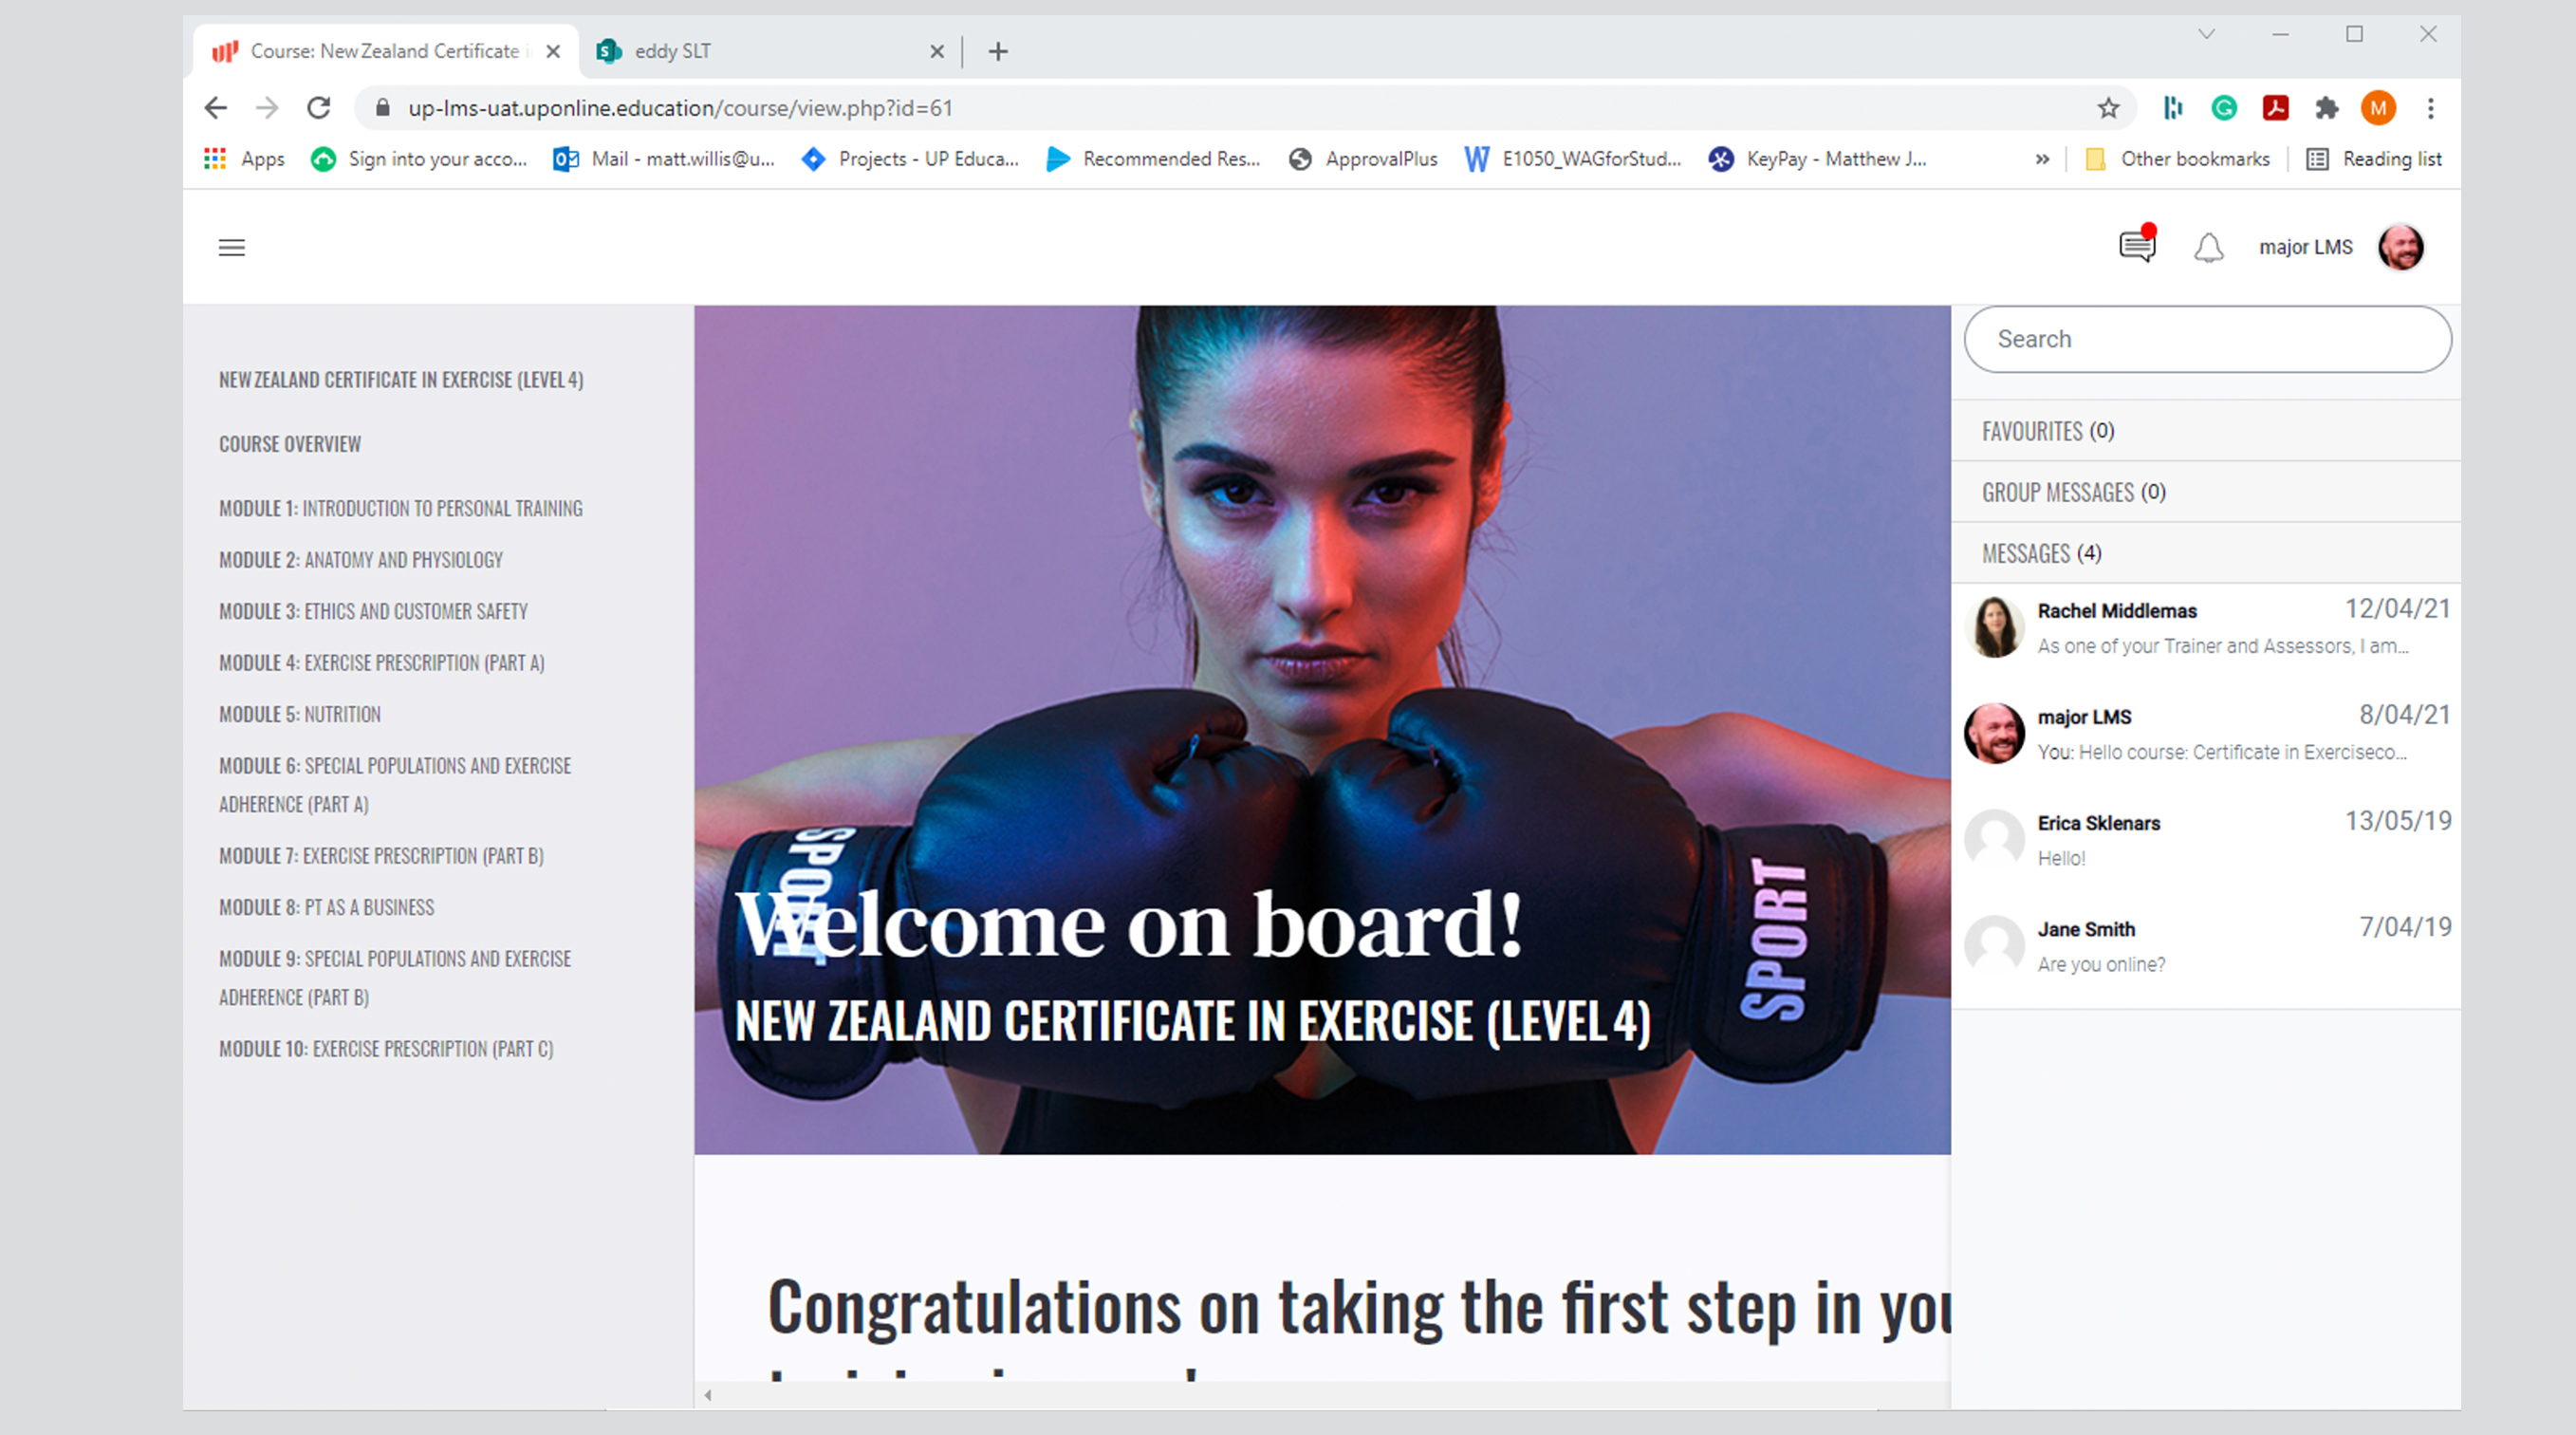
You will see in the message centre there are three distinct folders:
- Favourites
- Group Messages
- Messages
Messages Inbox
- This folder acts as your inbox, and you will see chats in progress and new messages.
- When clicking on one of the messages in the inbox it will open the chat history and will allow you to read the previous messages, the status of the person you are chatting with (i.e offline or online) and the ability to chat through the message box.
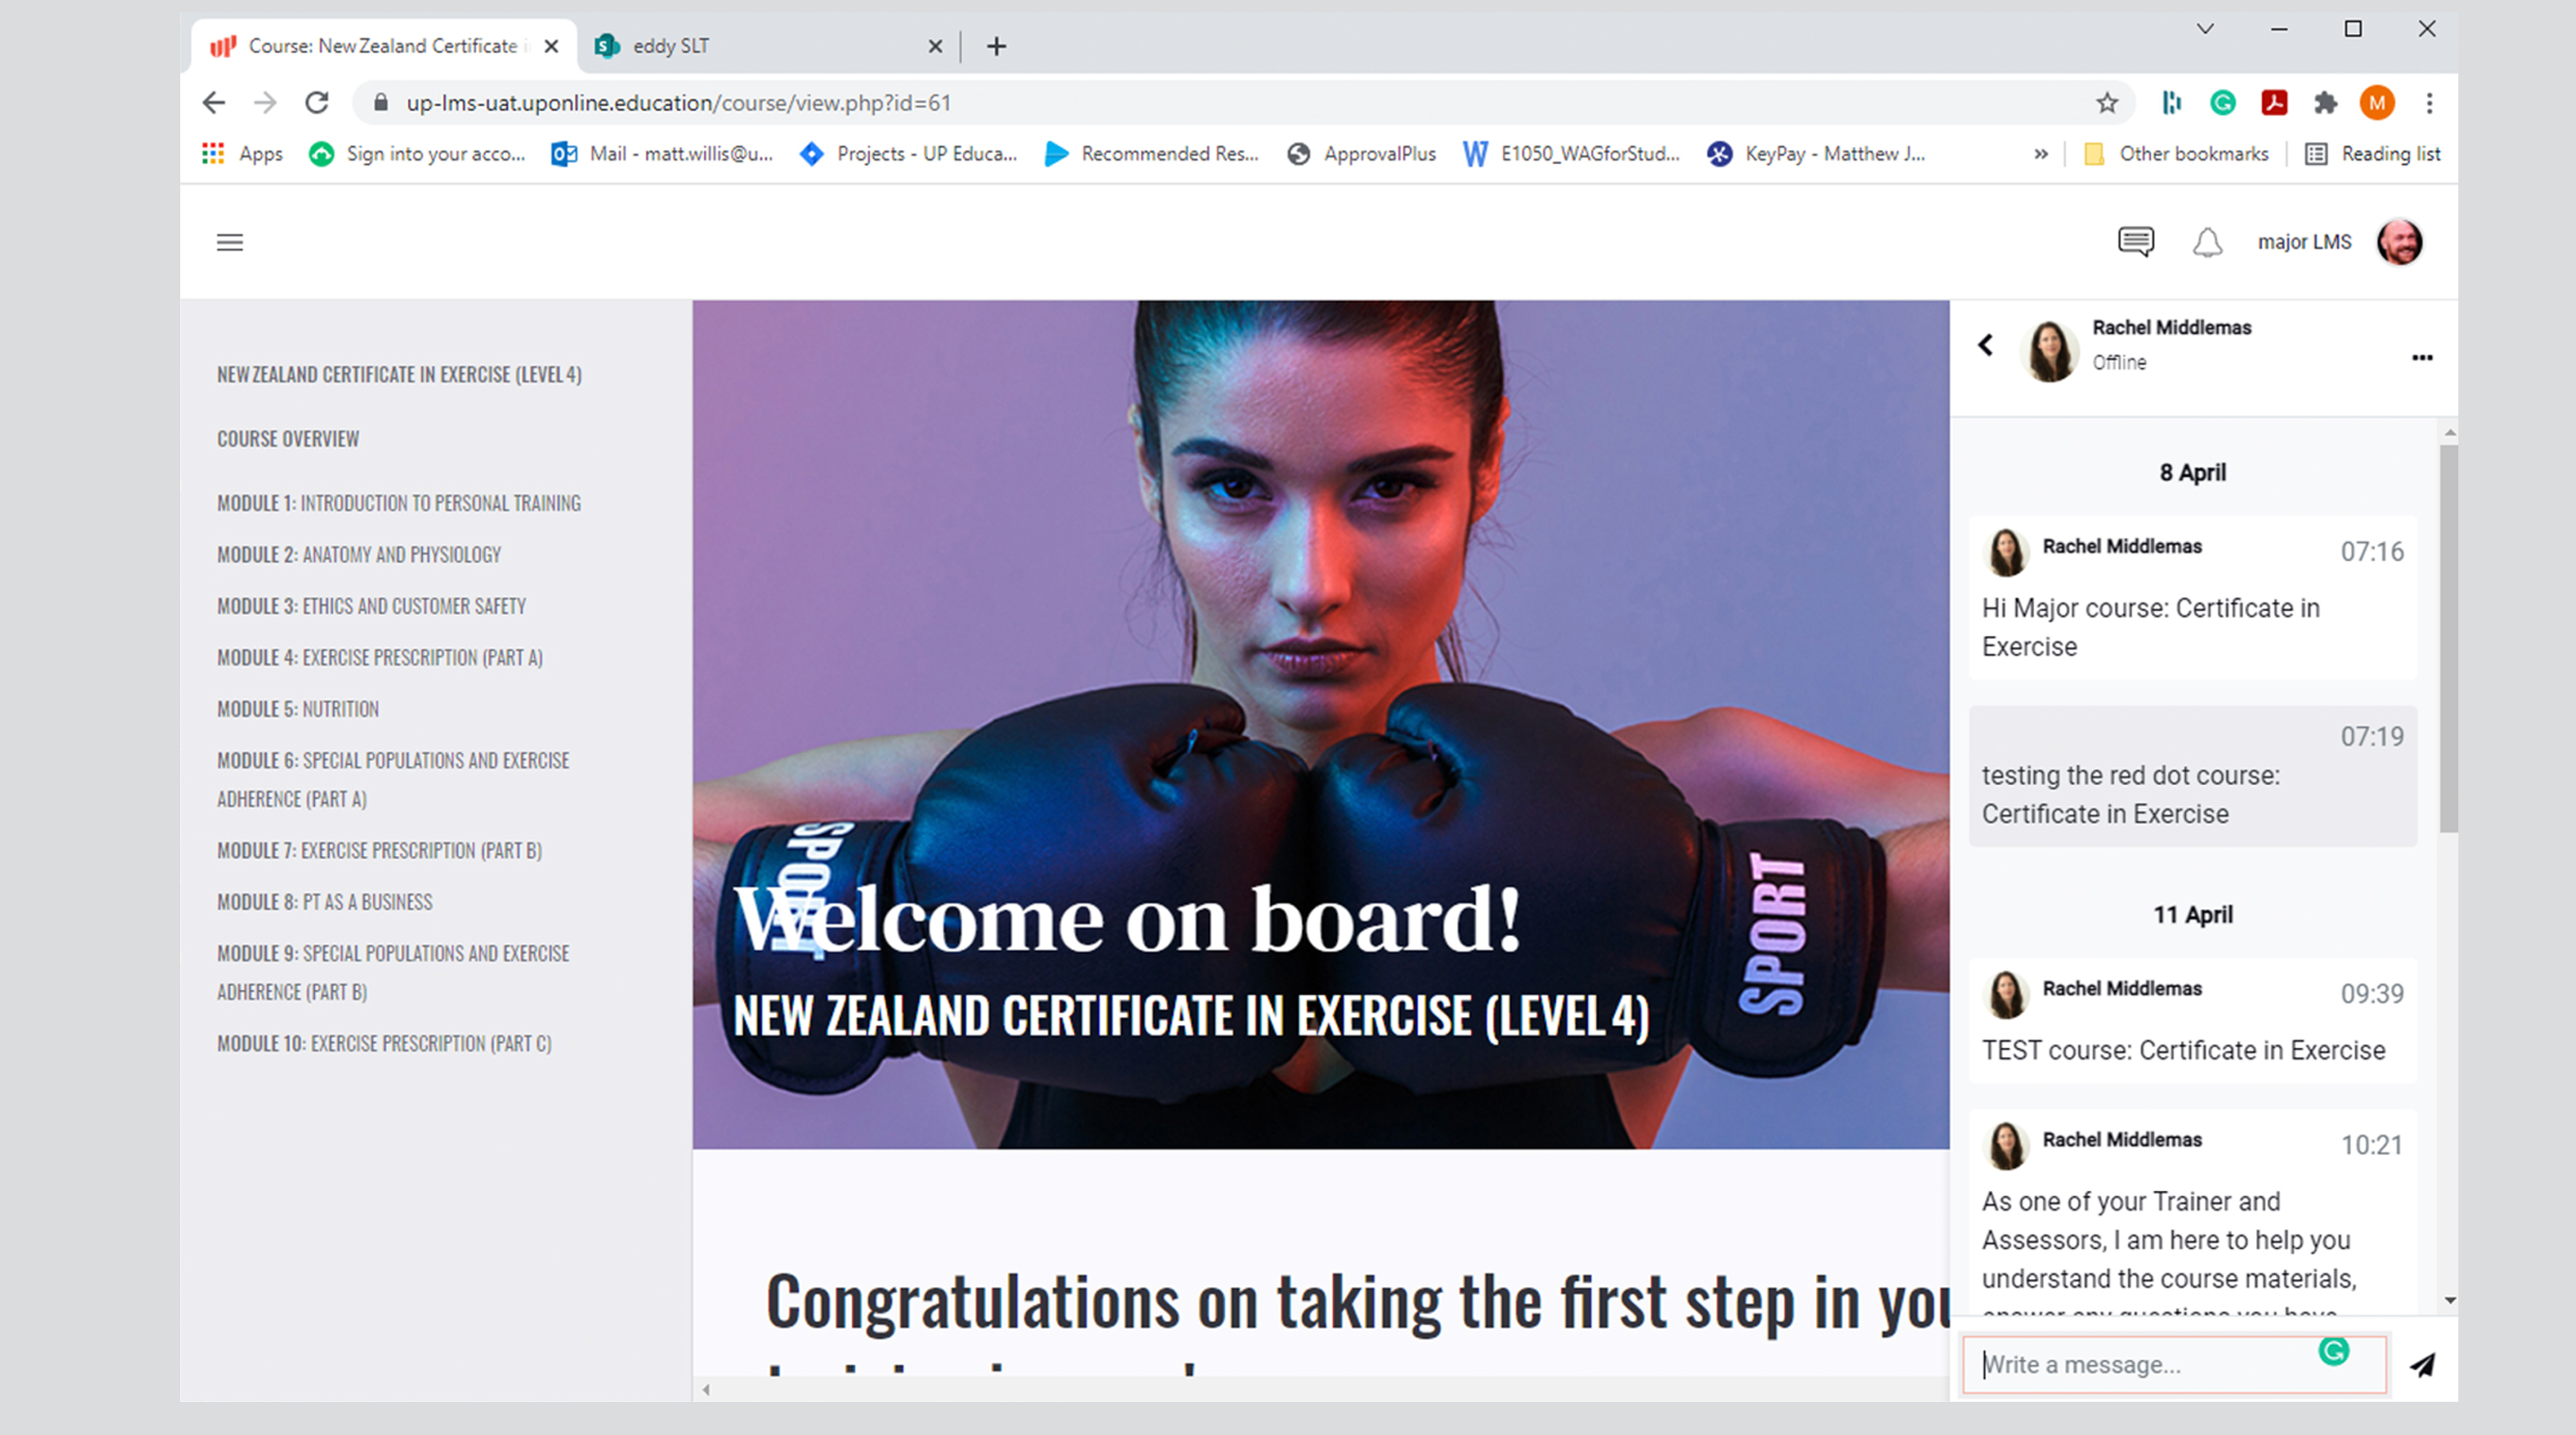
- Next to the name of person in the message there are three small dot icons, by selecting this you can star a conversation which shifts the chat from the standard inbox to your favourites.
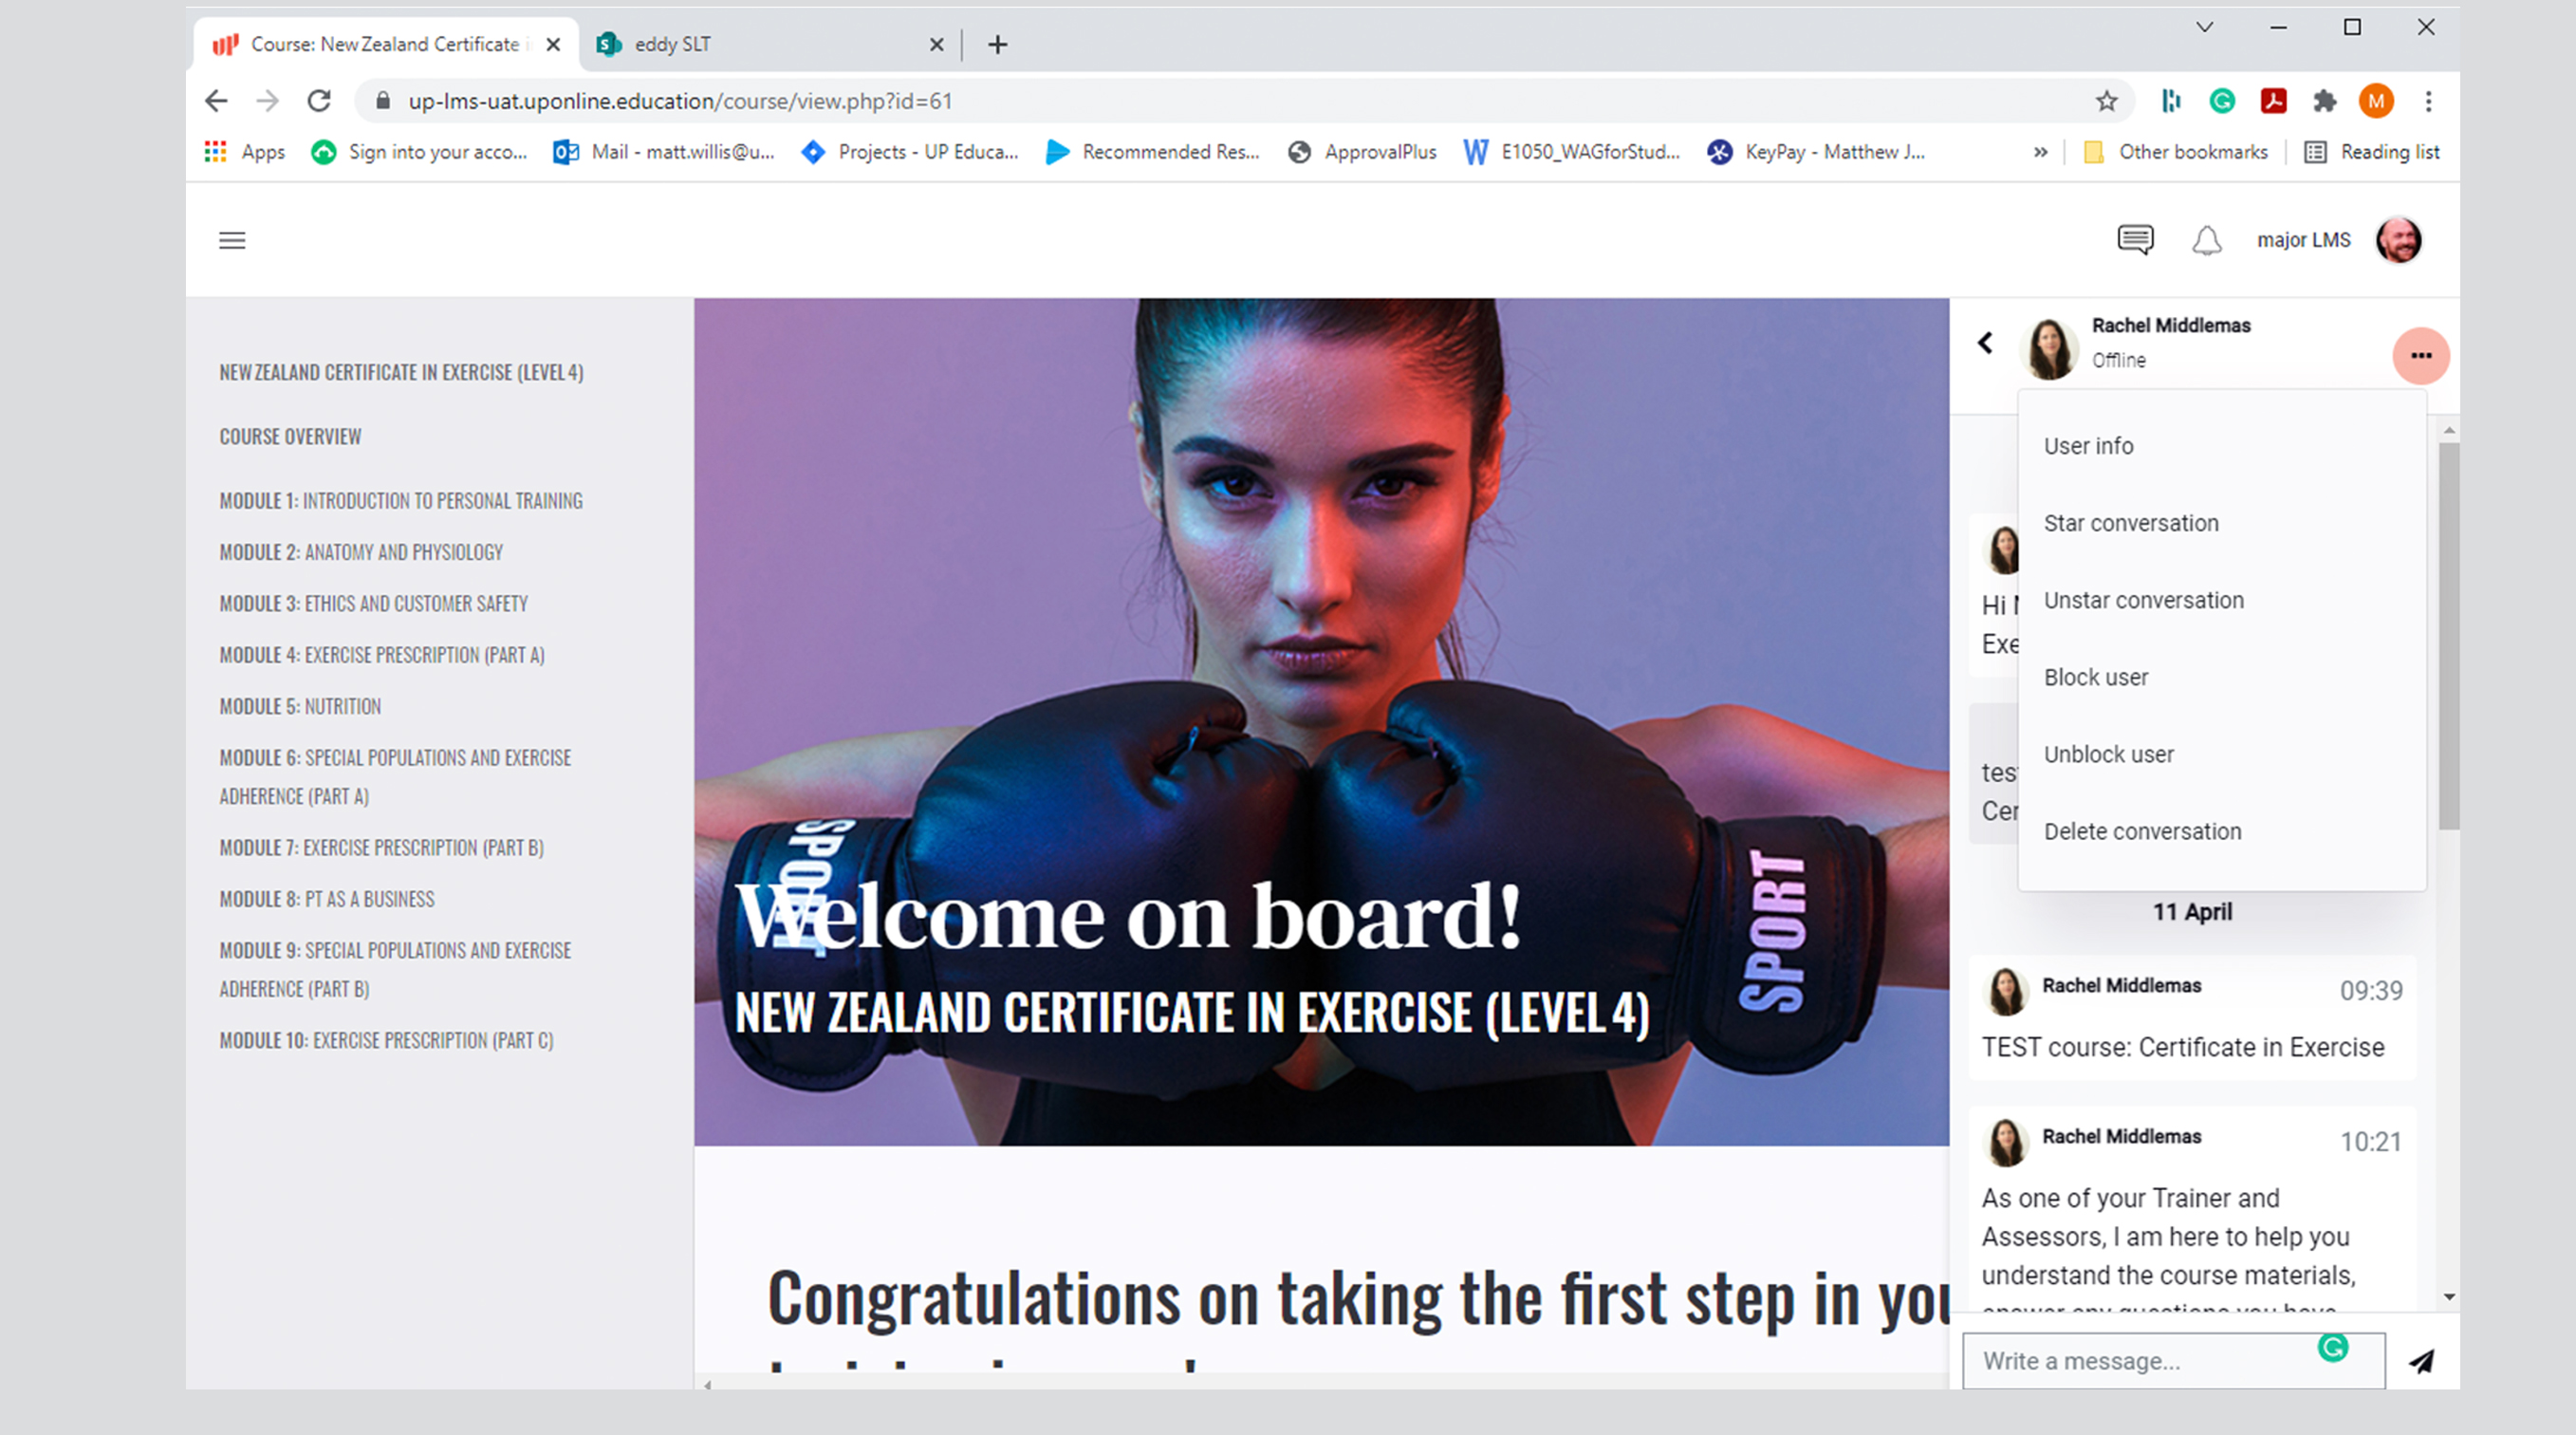
- Additionally, you can un-star (unfavourite), block and unblock as well as delete the conversation.
__________
Sending Messages / Individual / All Students or Group Send
This folder acts as your inbox for group conversations that are set up by the teaching staff.
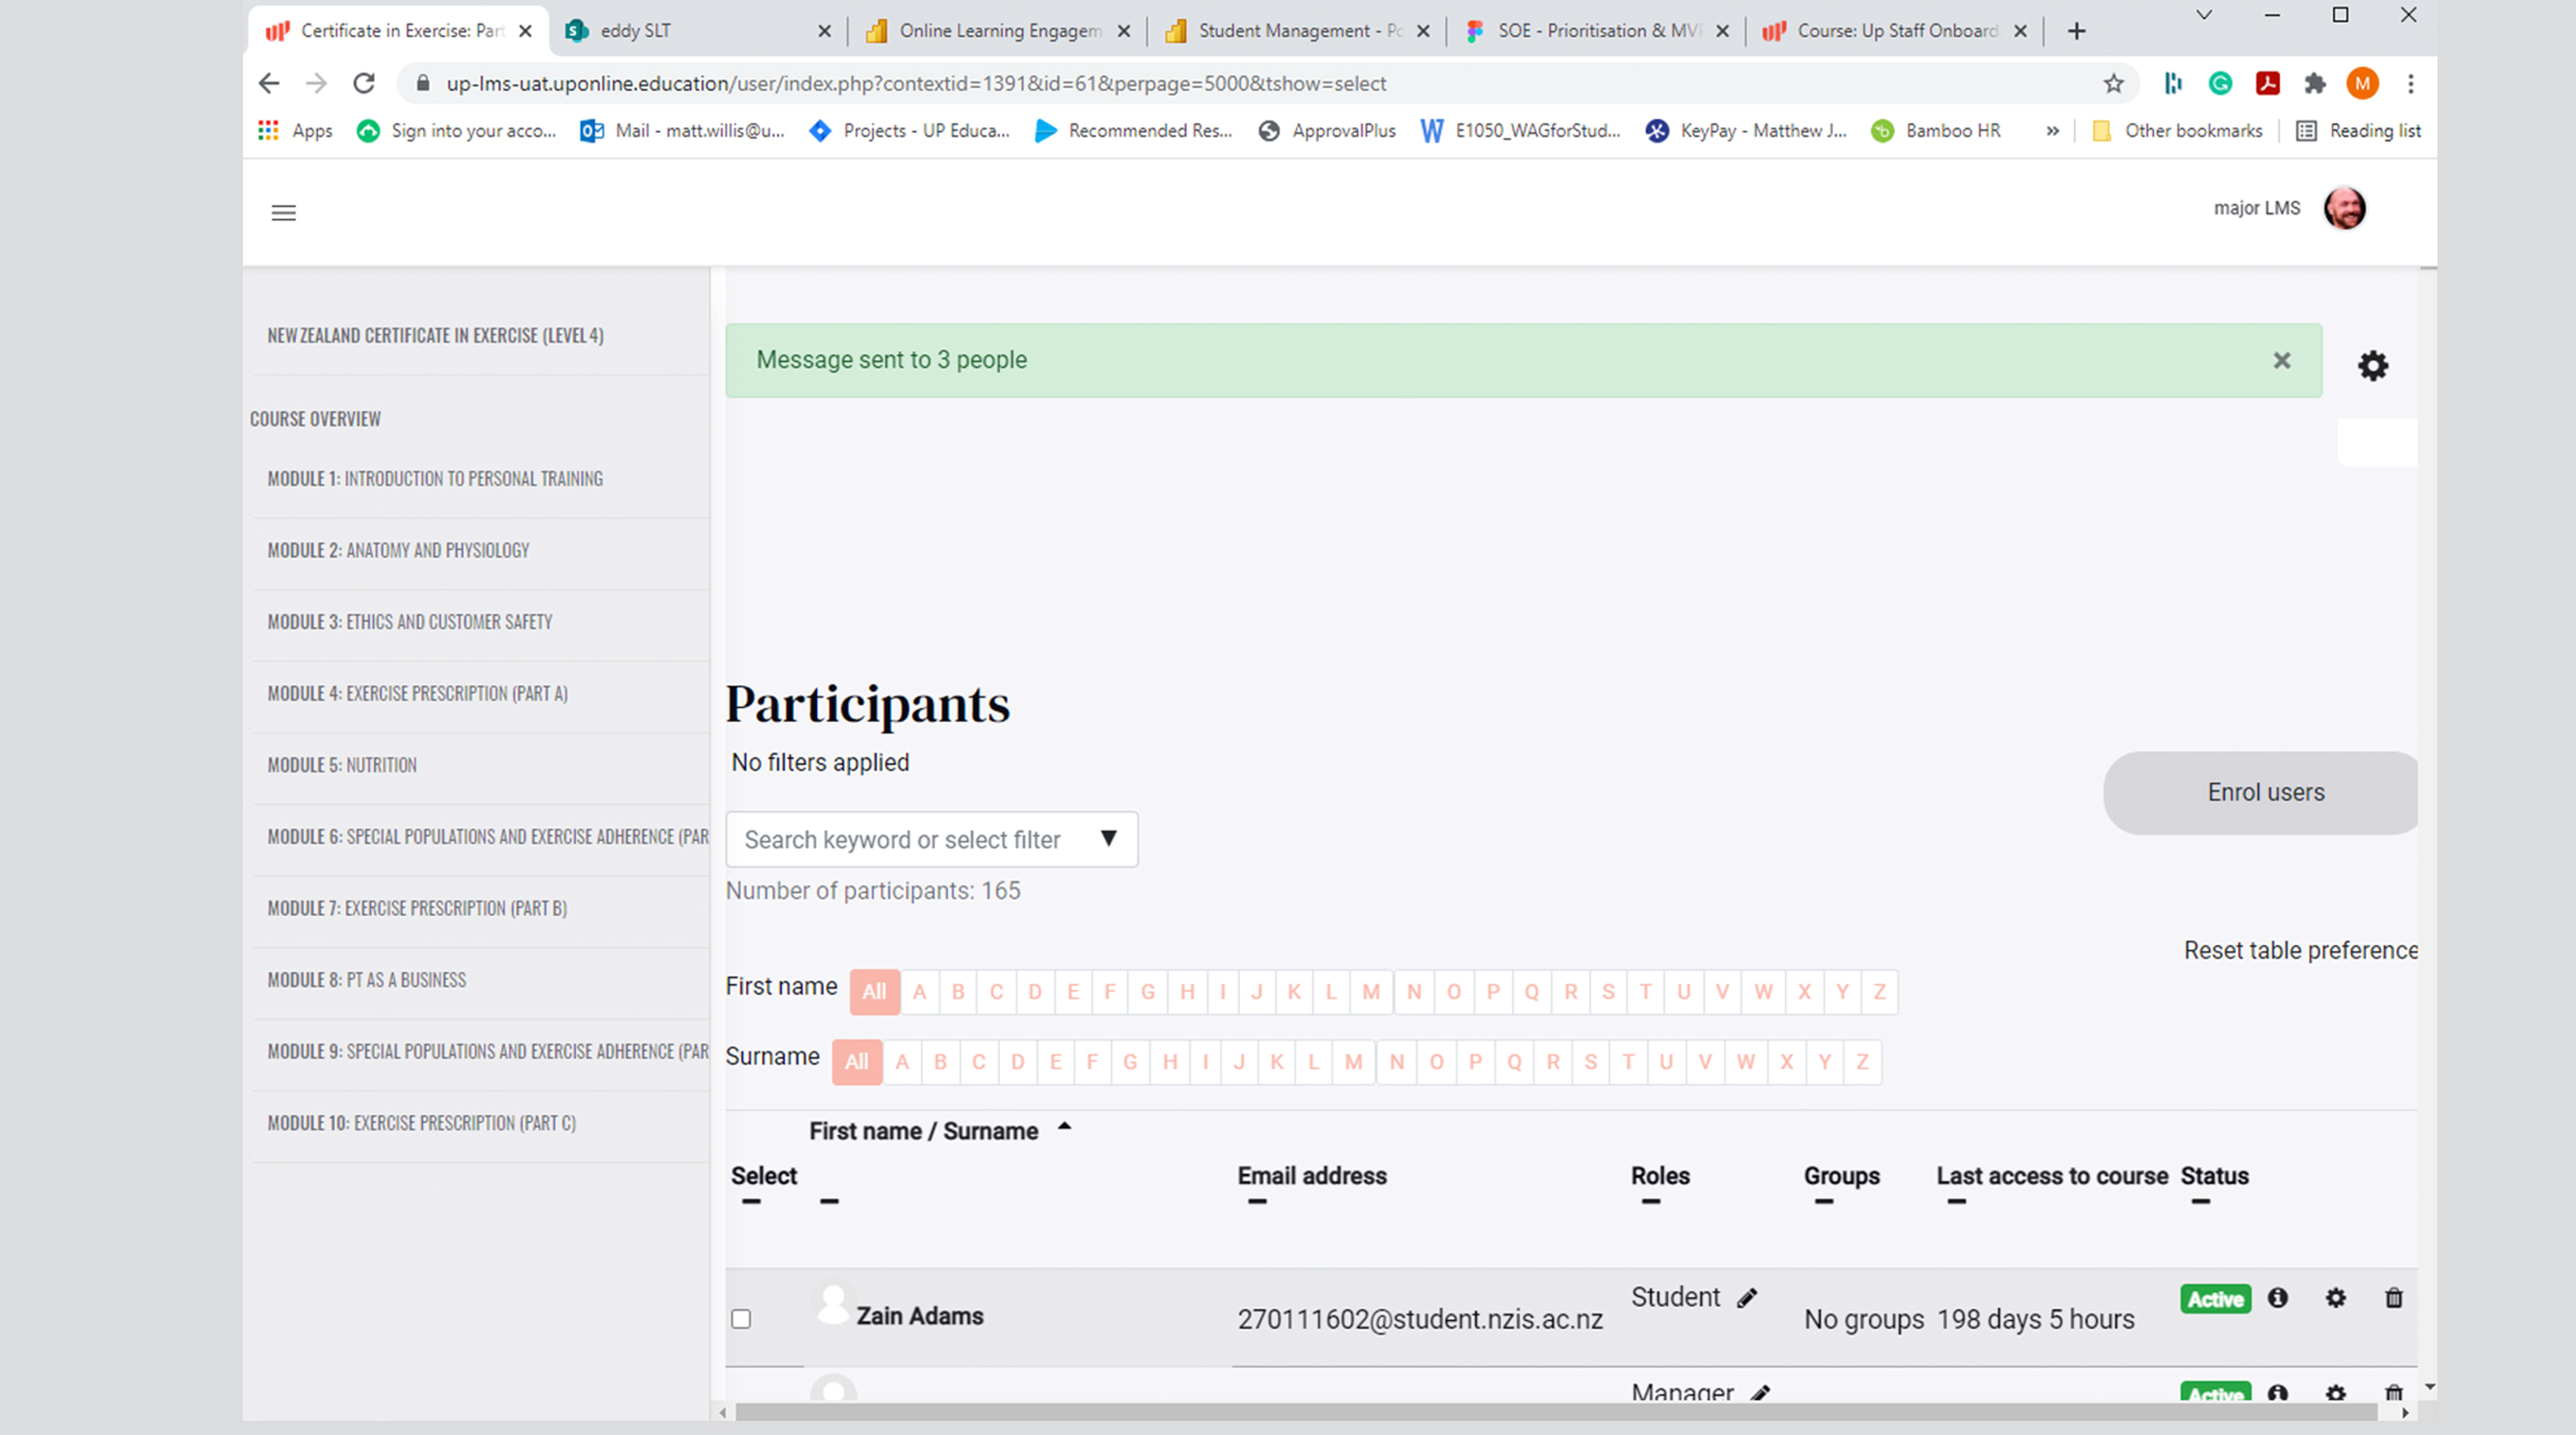
- In order to set up a group message, the tutor will click on their profile name in the top right of the platform and chose ‘Enrolled Users’
- Select the intake the message is for:
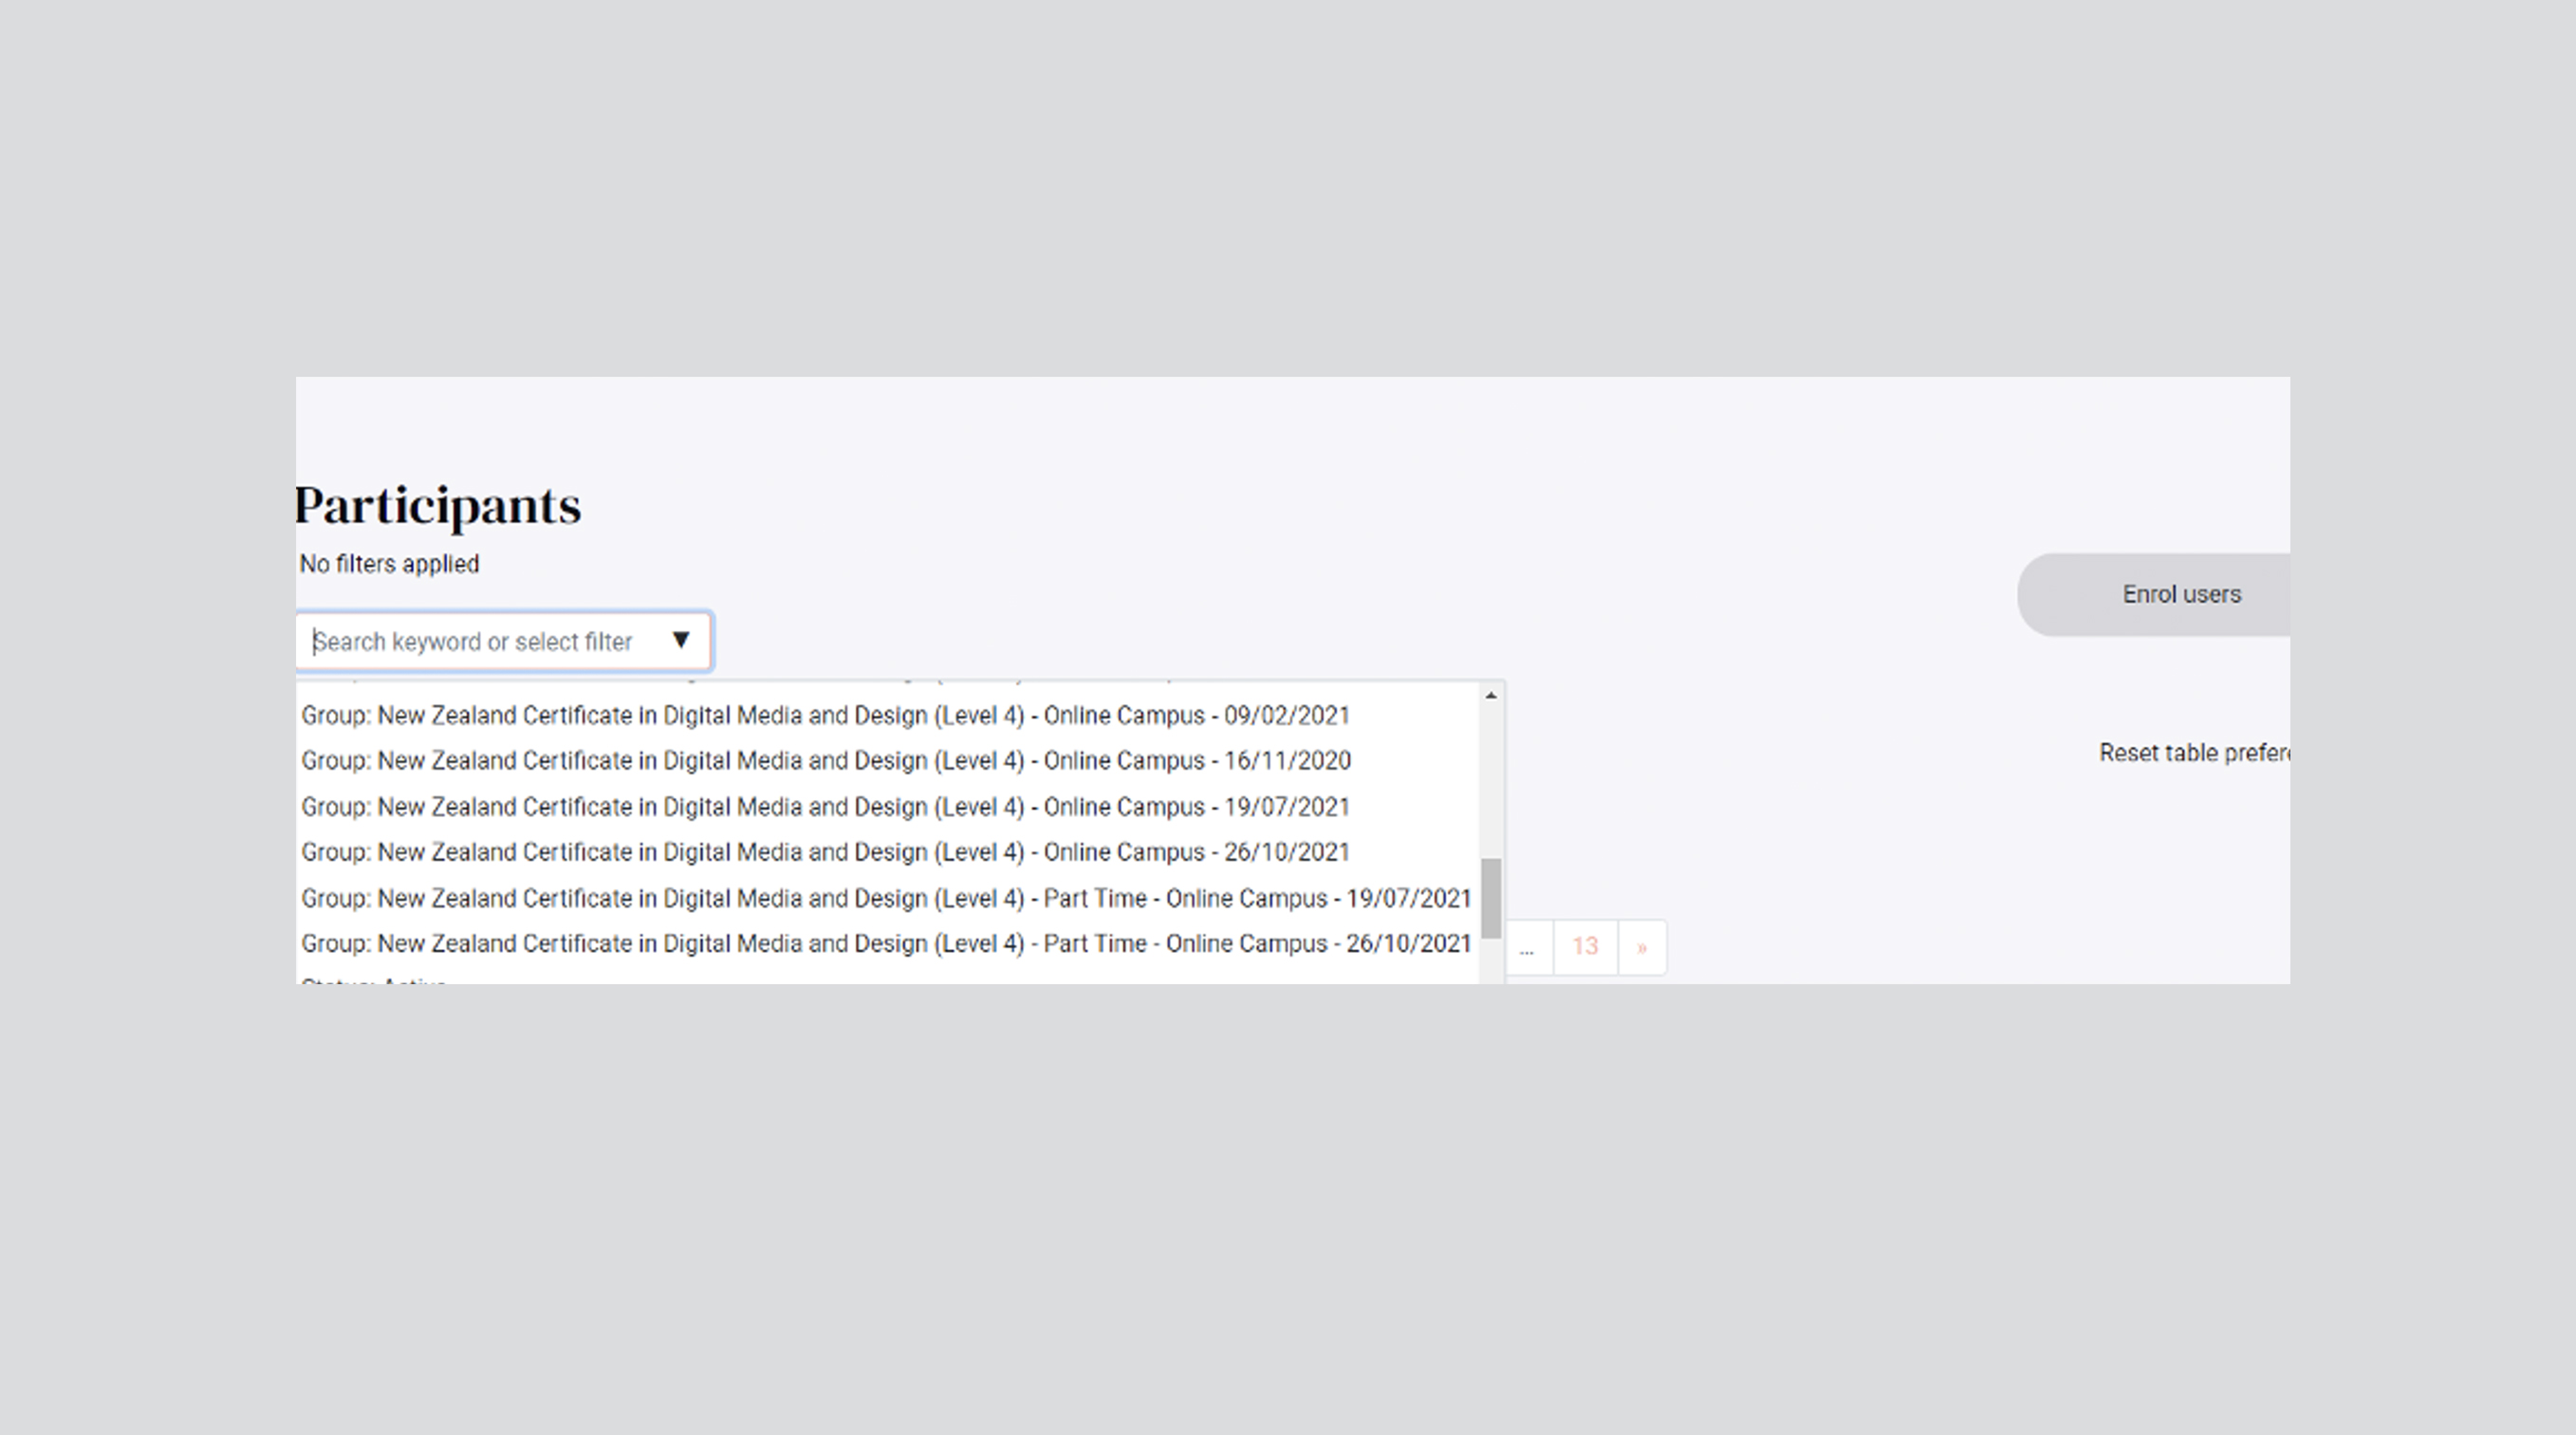
- You can also use the filter drop down to select other options:
• Role: Students – this shows all students enrolled in this programme (past, present)
• Groups – If you have set up group names with students allocated you can select the group here
• Active / Inactive – You can choose to only filter by active or inactive students (past, present)
- Next scroll to the bottom of the list and choose the select all function, this will select all the students in the category you have selected (if you want to only create a chat group with certain students, you can tick the box next to the names of students you want in the group without selecting all).
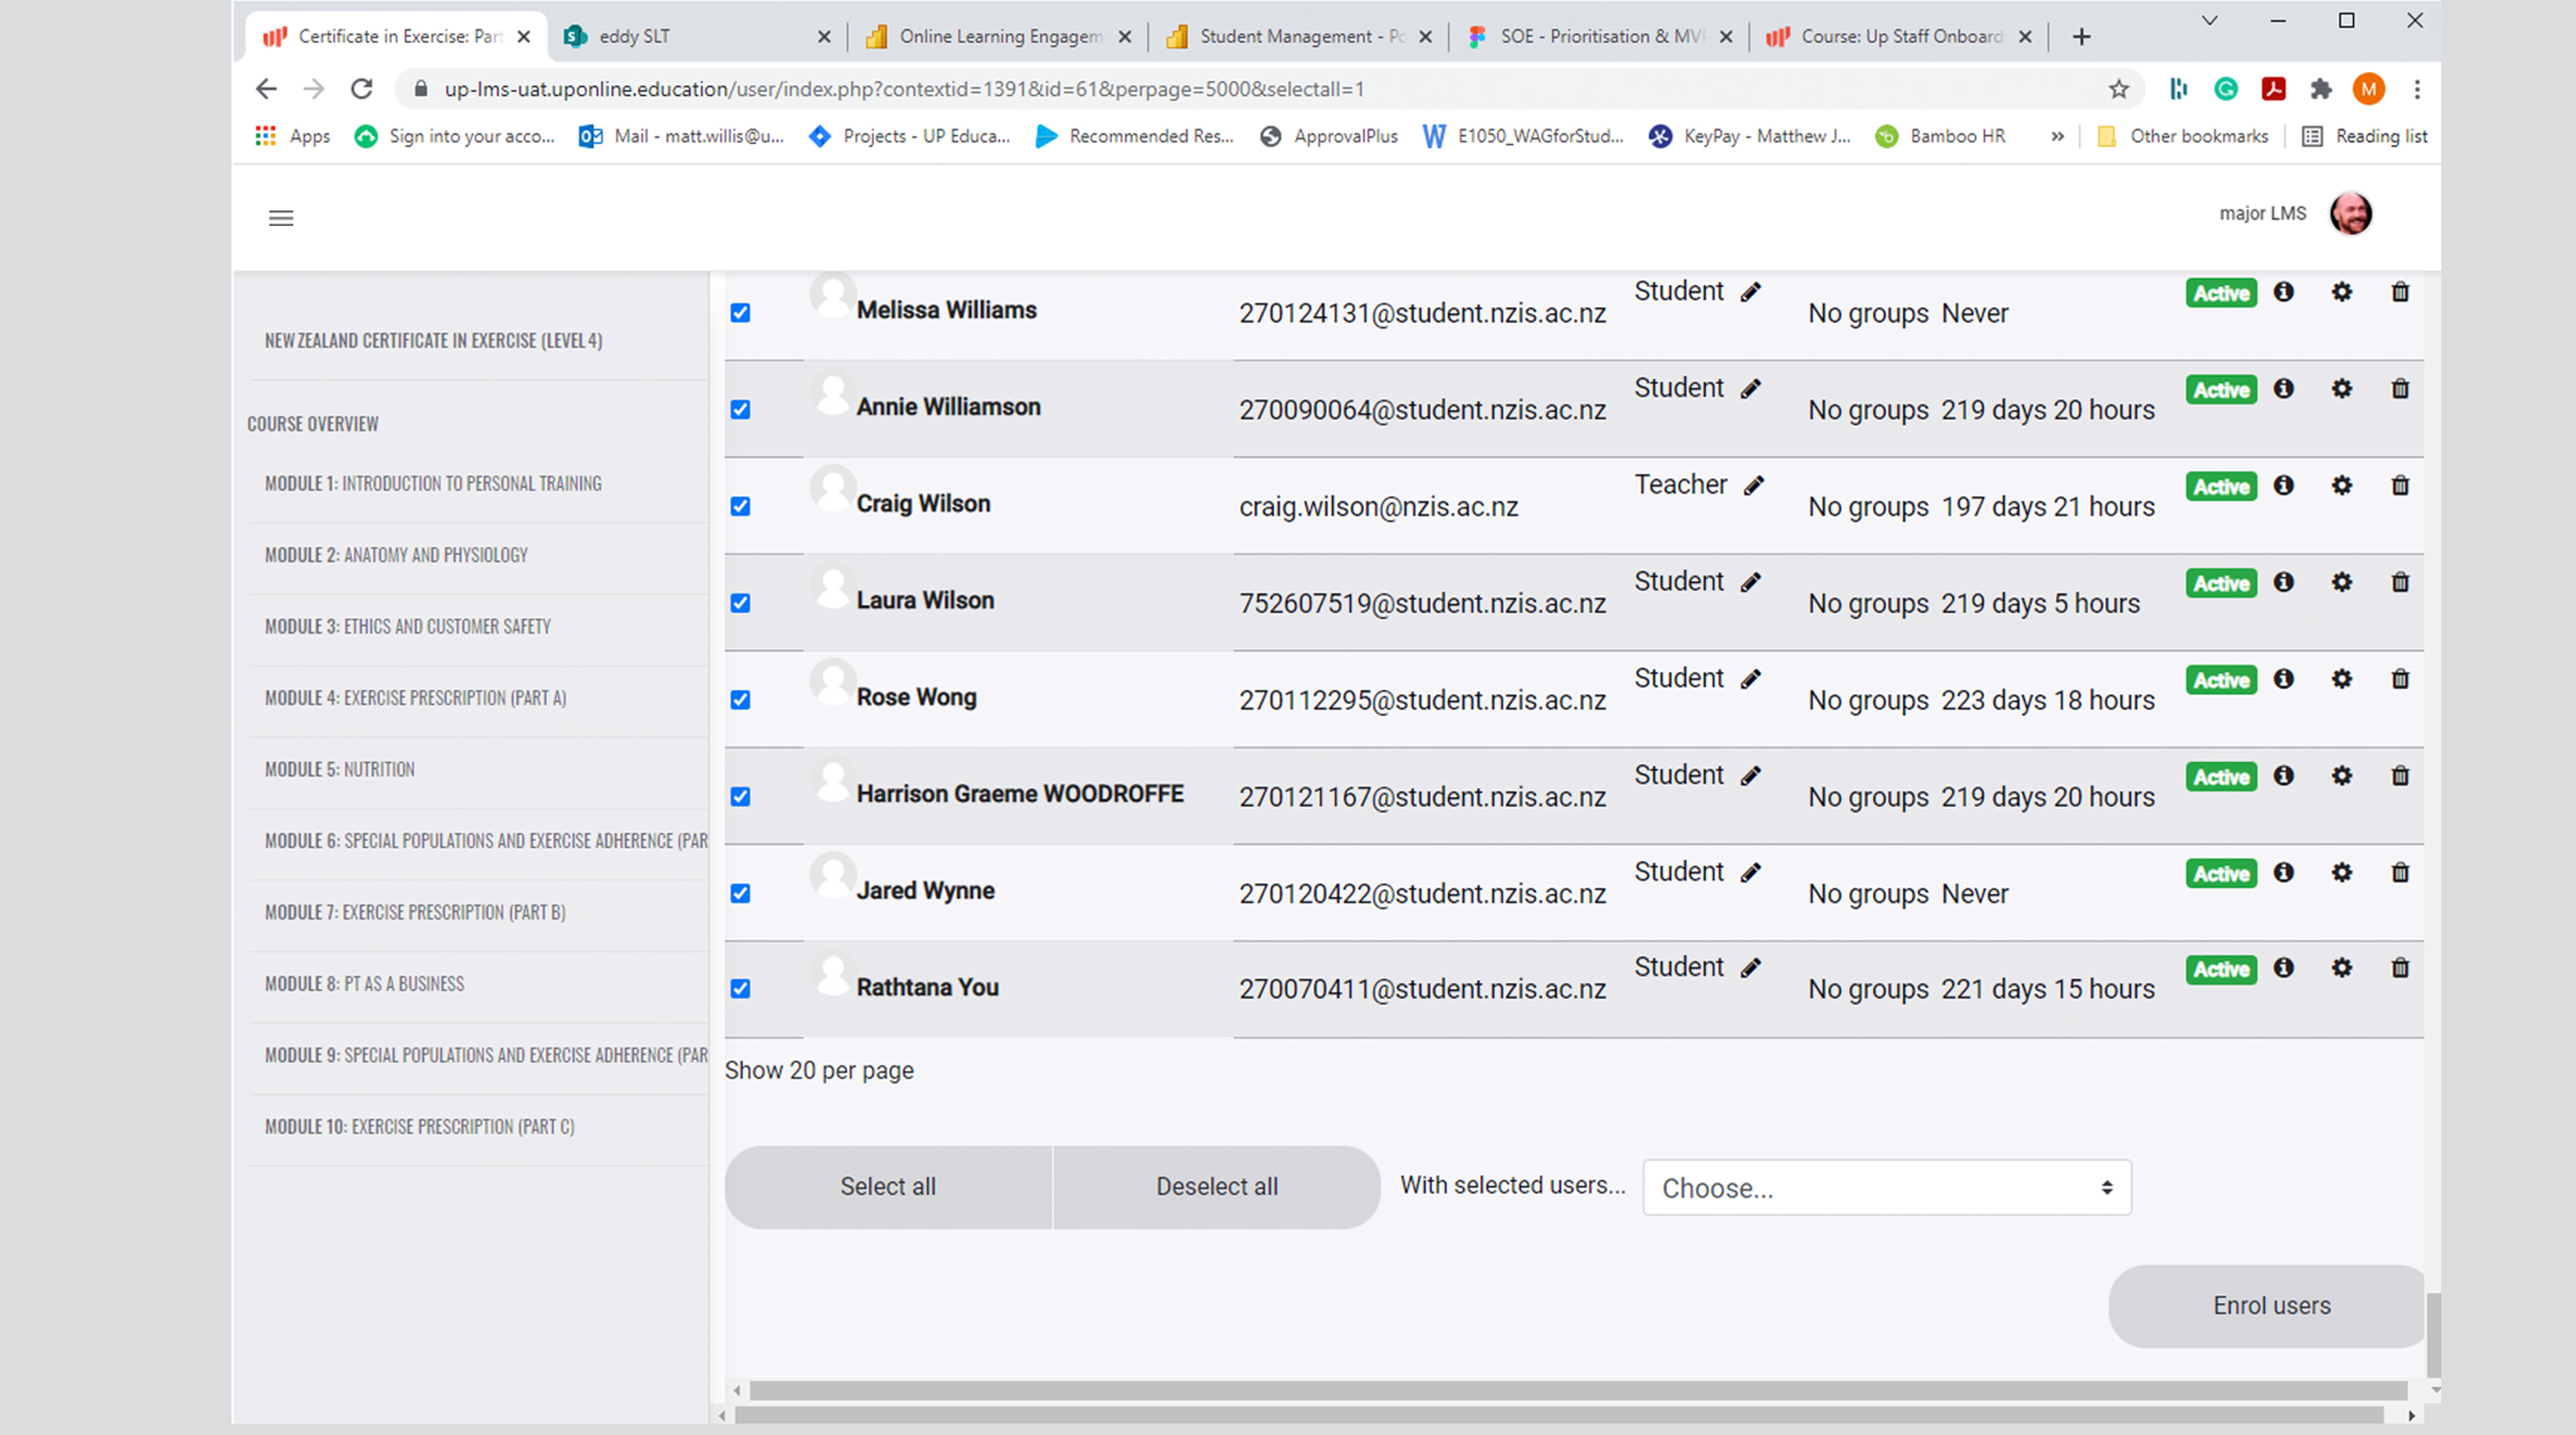
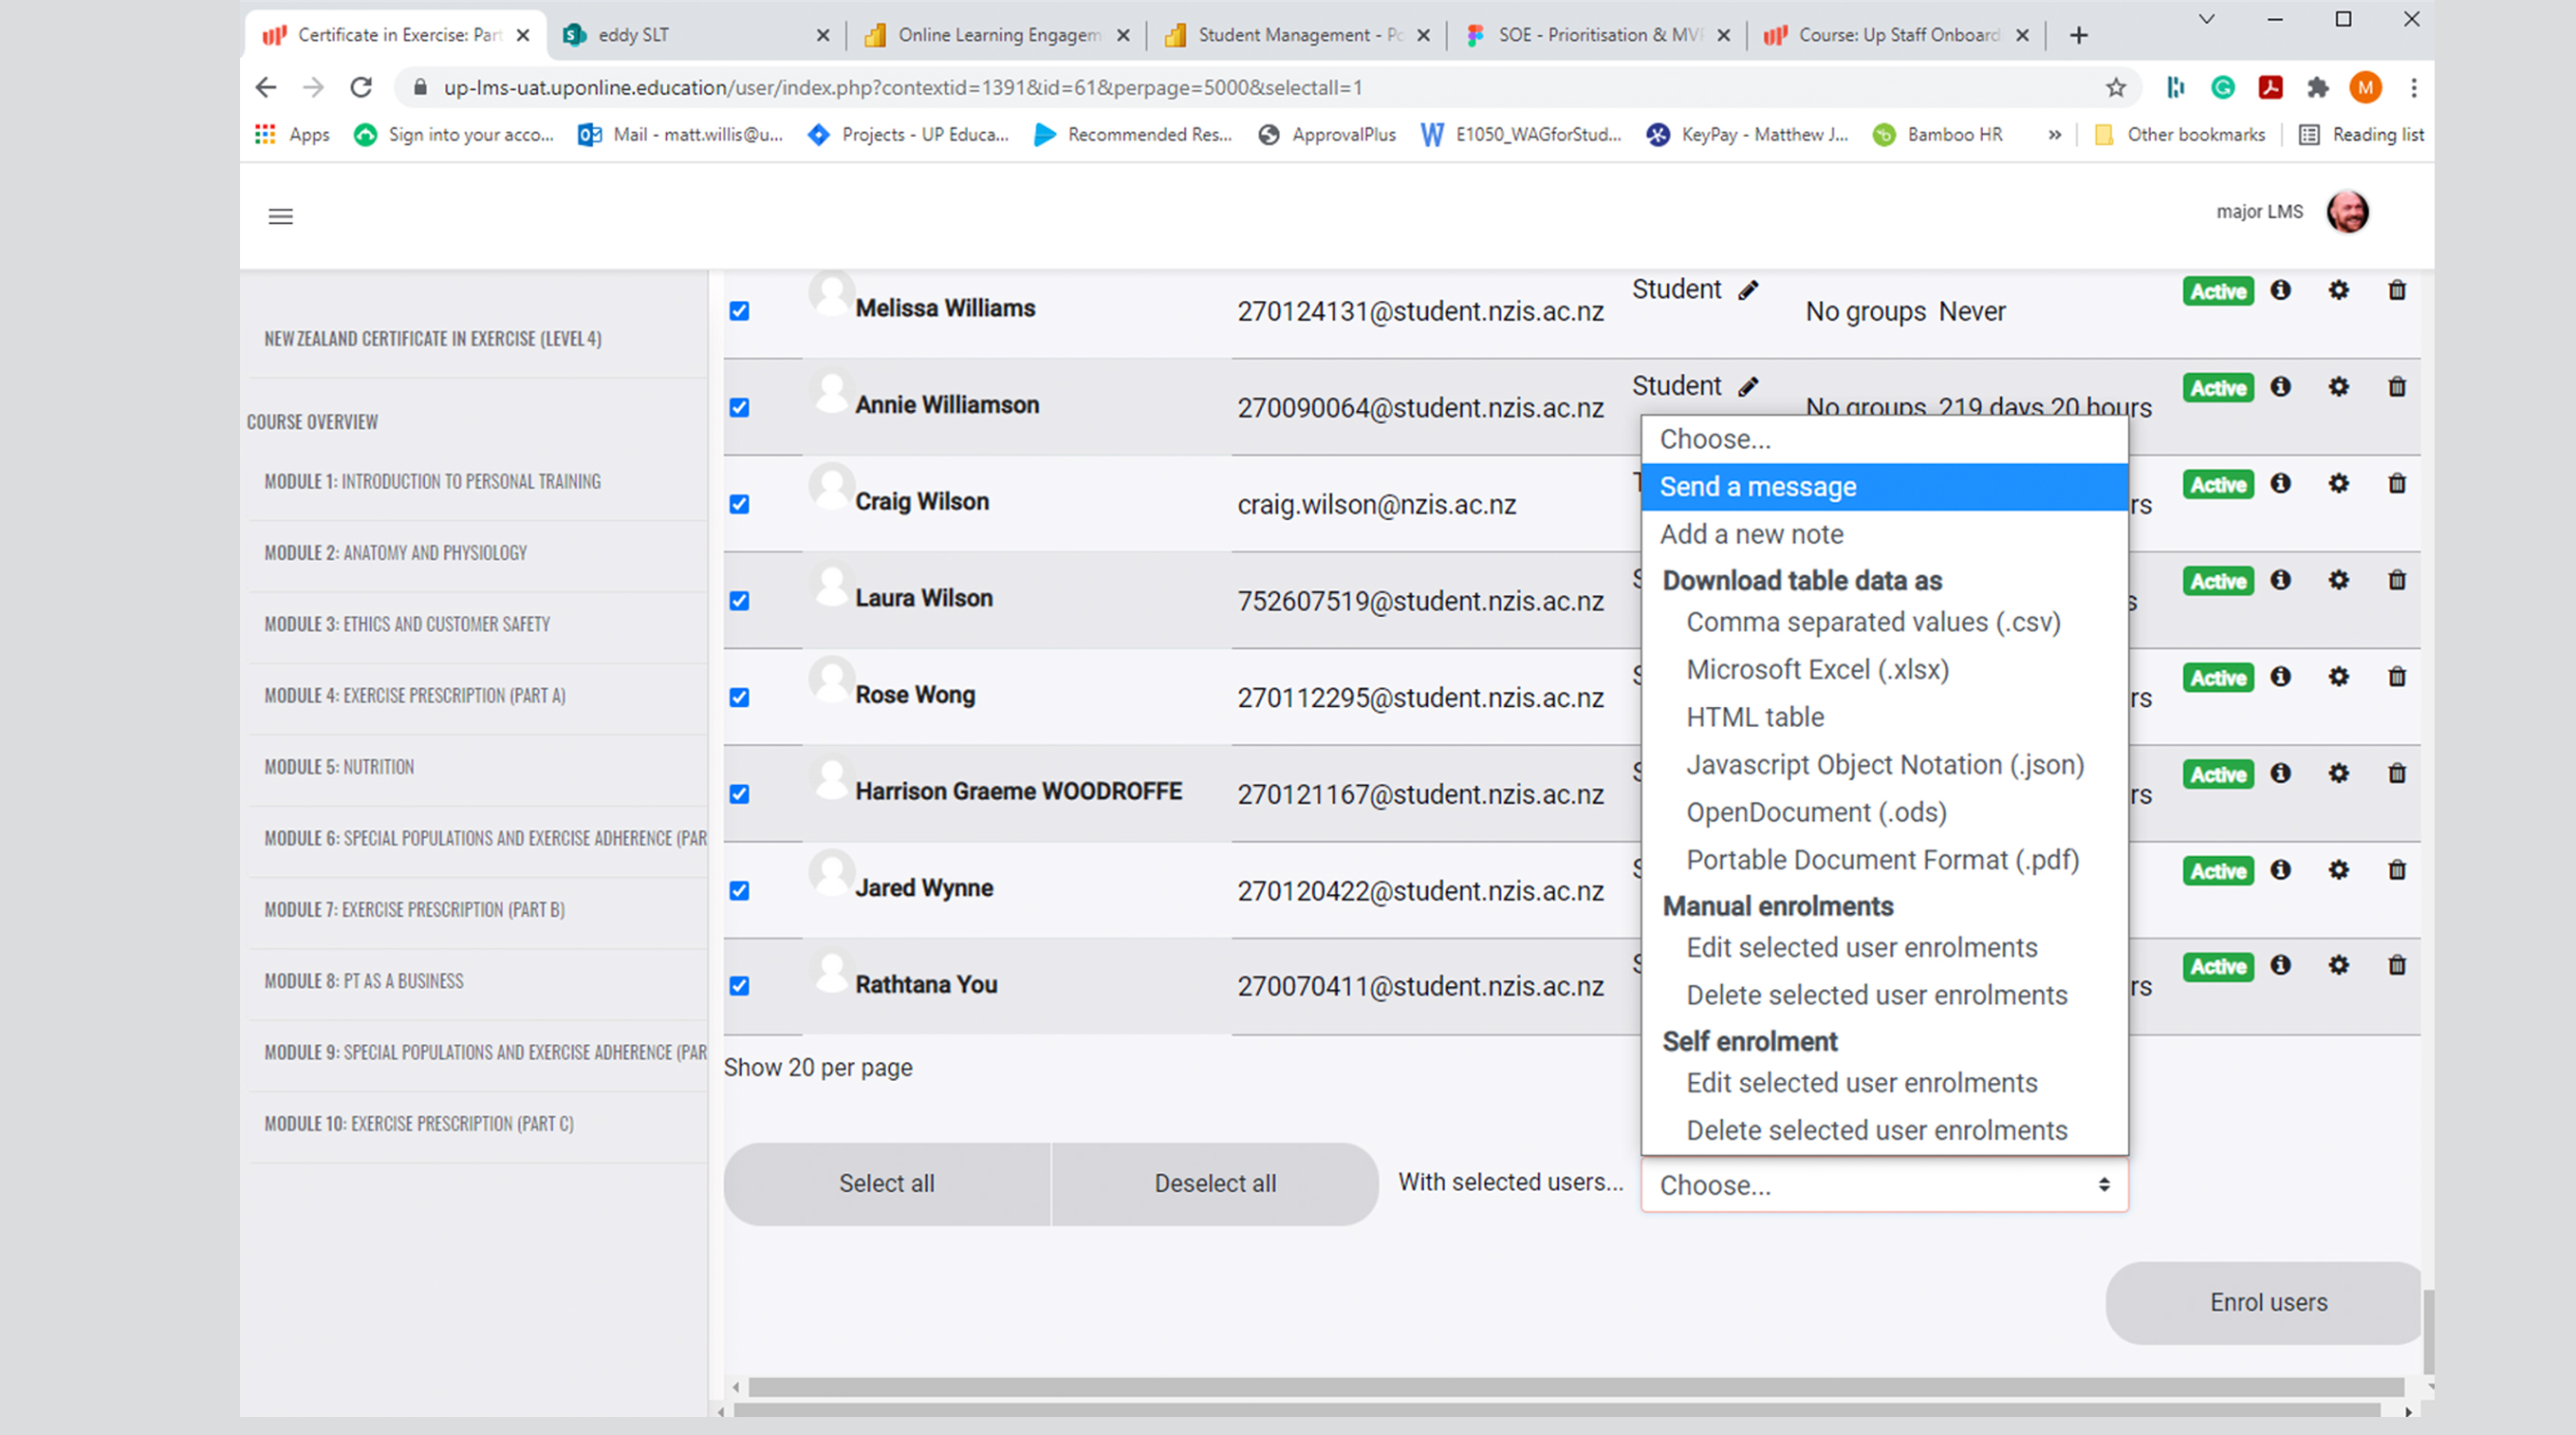
- Once you have either selected all, or the individual students you want in the group open the drop down and select ‘Send a message.’
- You can then type your message in the comment box (note: you can stretch the comment box by grabbing the bottom right corner of the message to create more space for the message).

- When you have finished typing your message click on the Send Message button, once done the message box will disappear and you will receive confirmation at the top of the screen / list that your message has been sent.
- Students will then receive a notification that they have received a new message through the red icon on the message.
__________
At the bottom (or top, depending upon your programme) of the Module in the navigation menu, there is a section named ‘Forum.’
- Click on Forum to take you to the Forum Page (note: if there are no threads created in the Forum this will not be visible to students).

- To create a thread, click on ‘New thread’ on the top right of the page. This will open a dialogue box, giving you the Subject field to name the thread and the comment box to add the first post.
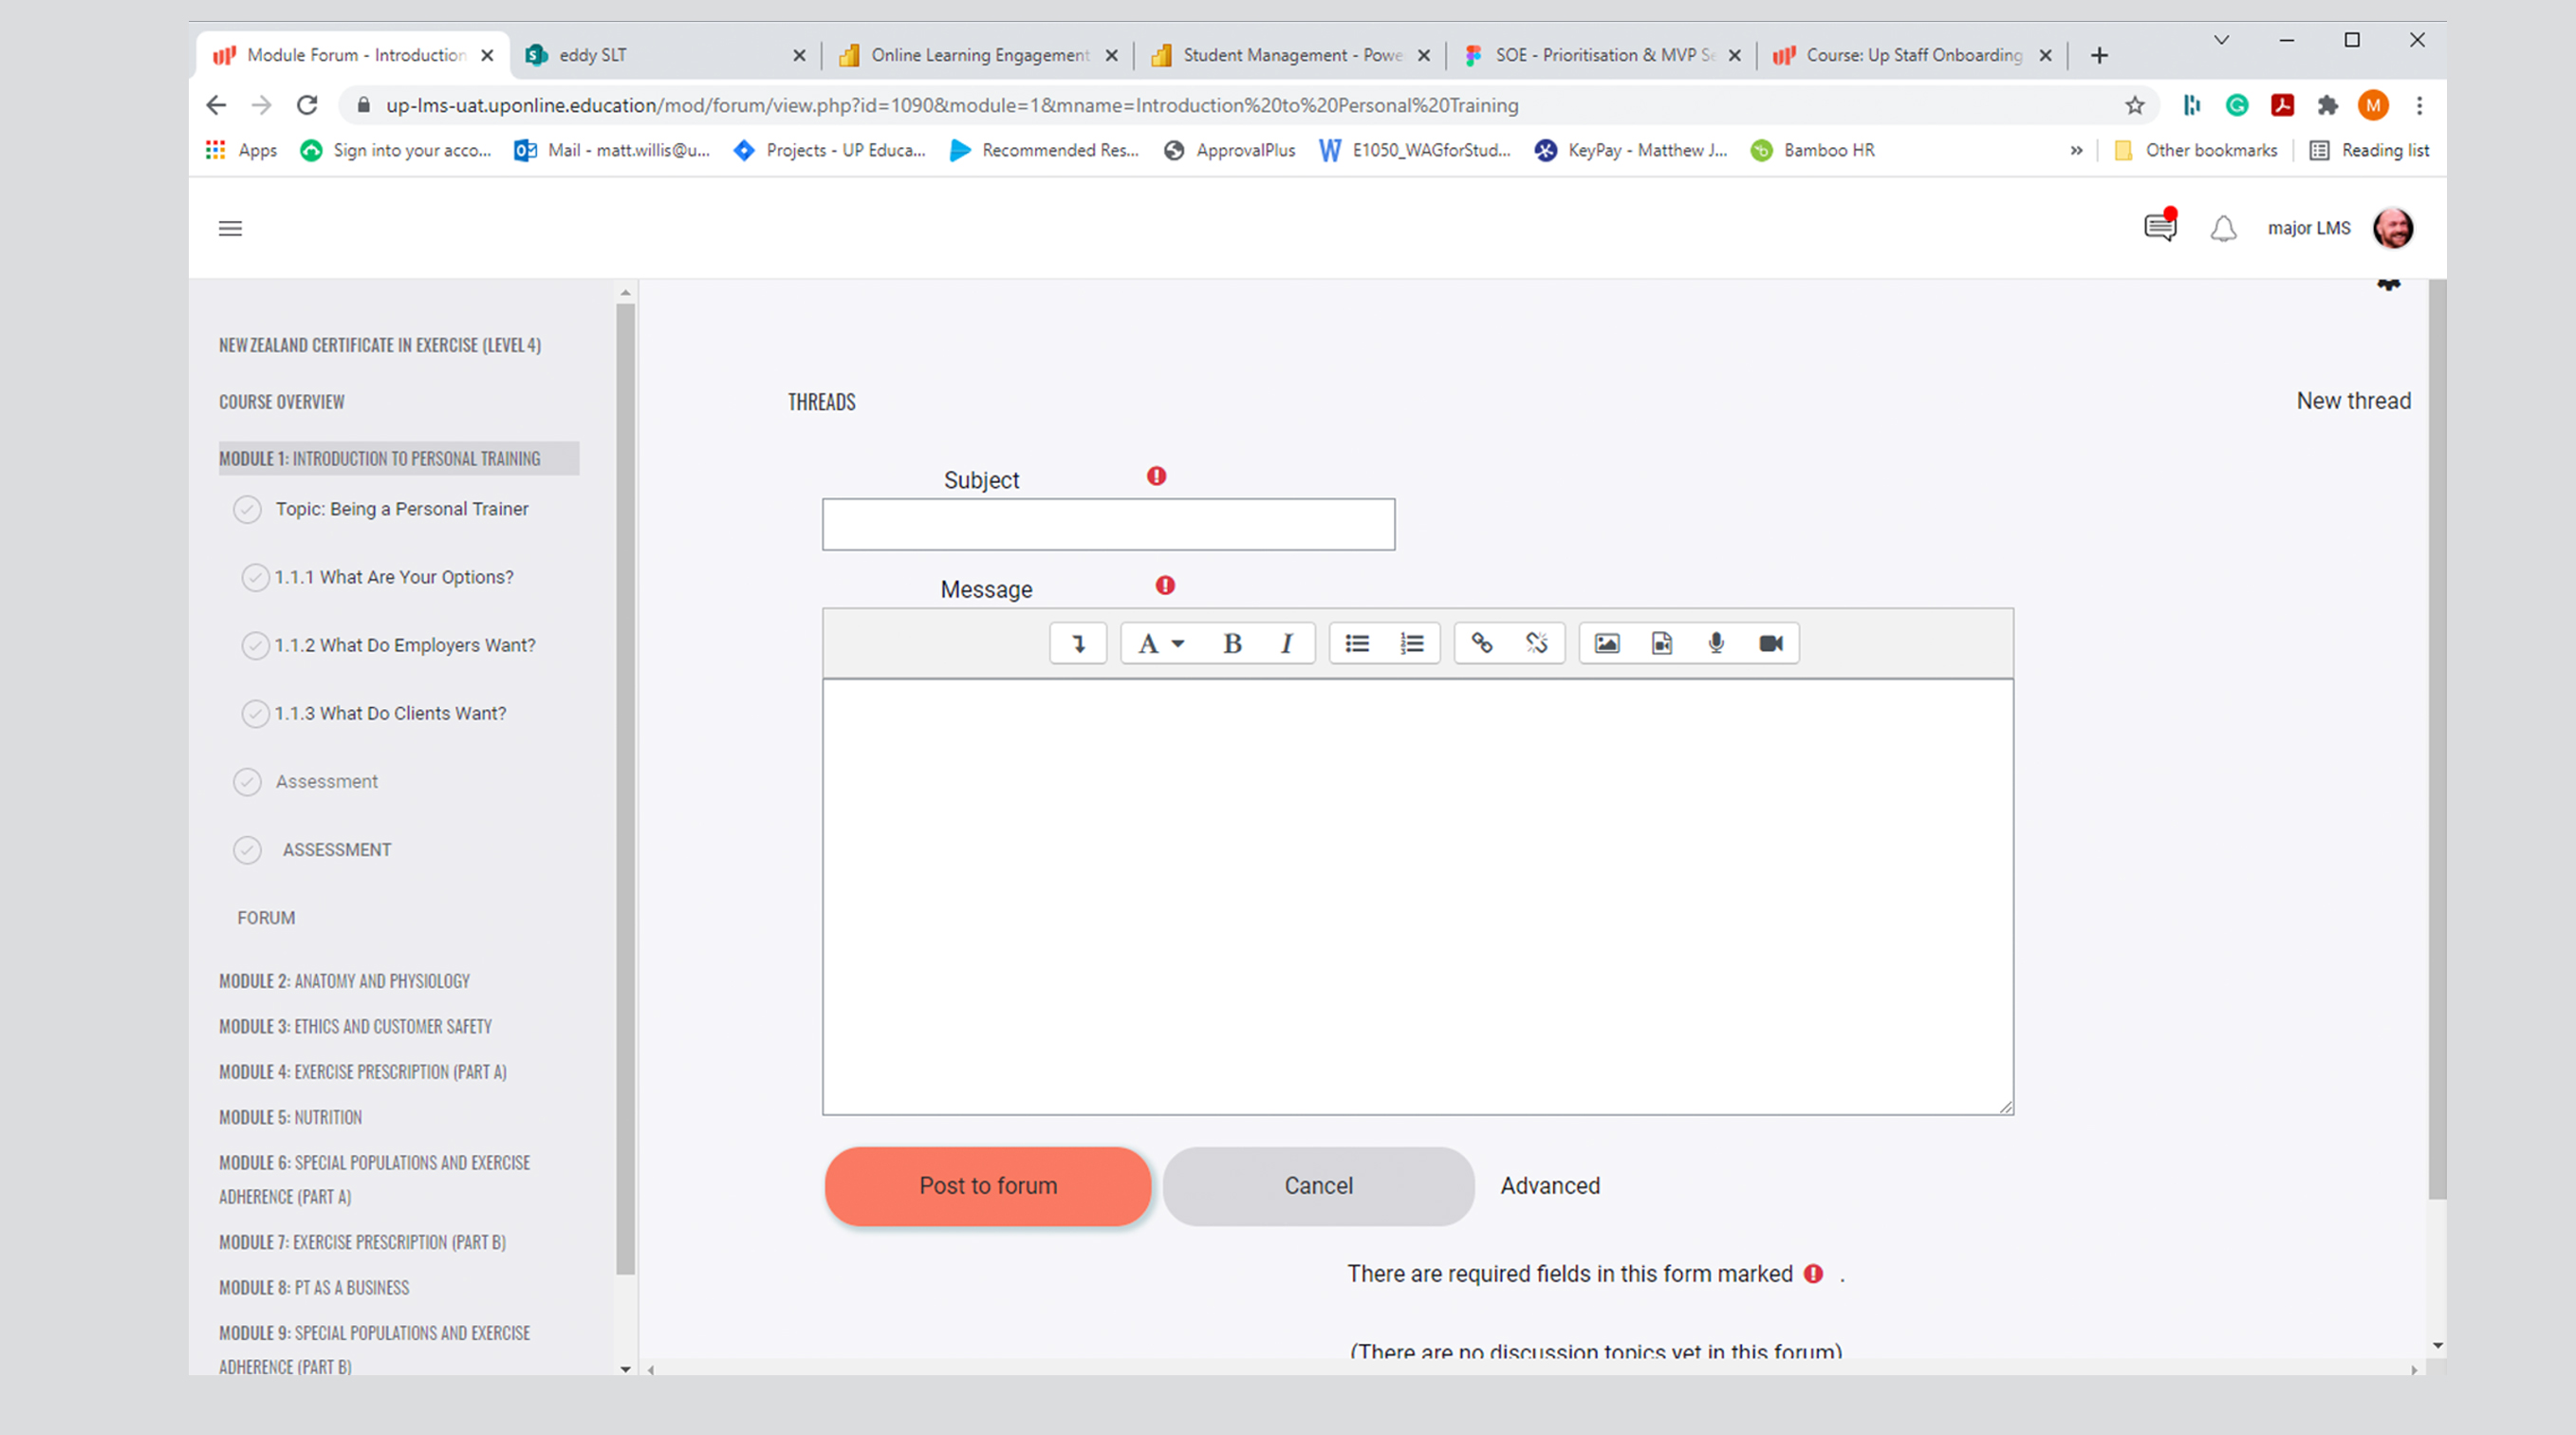
- You can enter your text and use the different type headings as required.
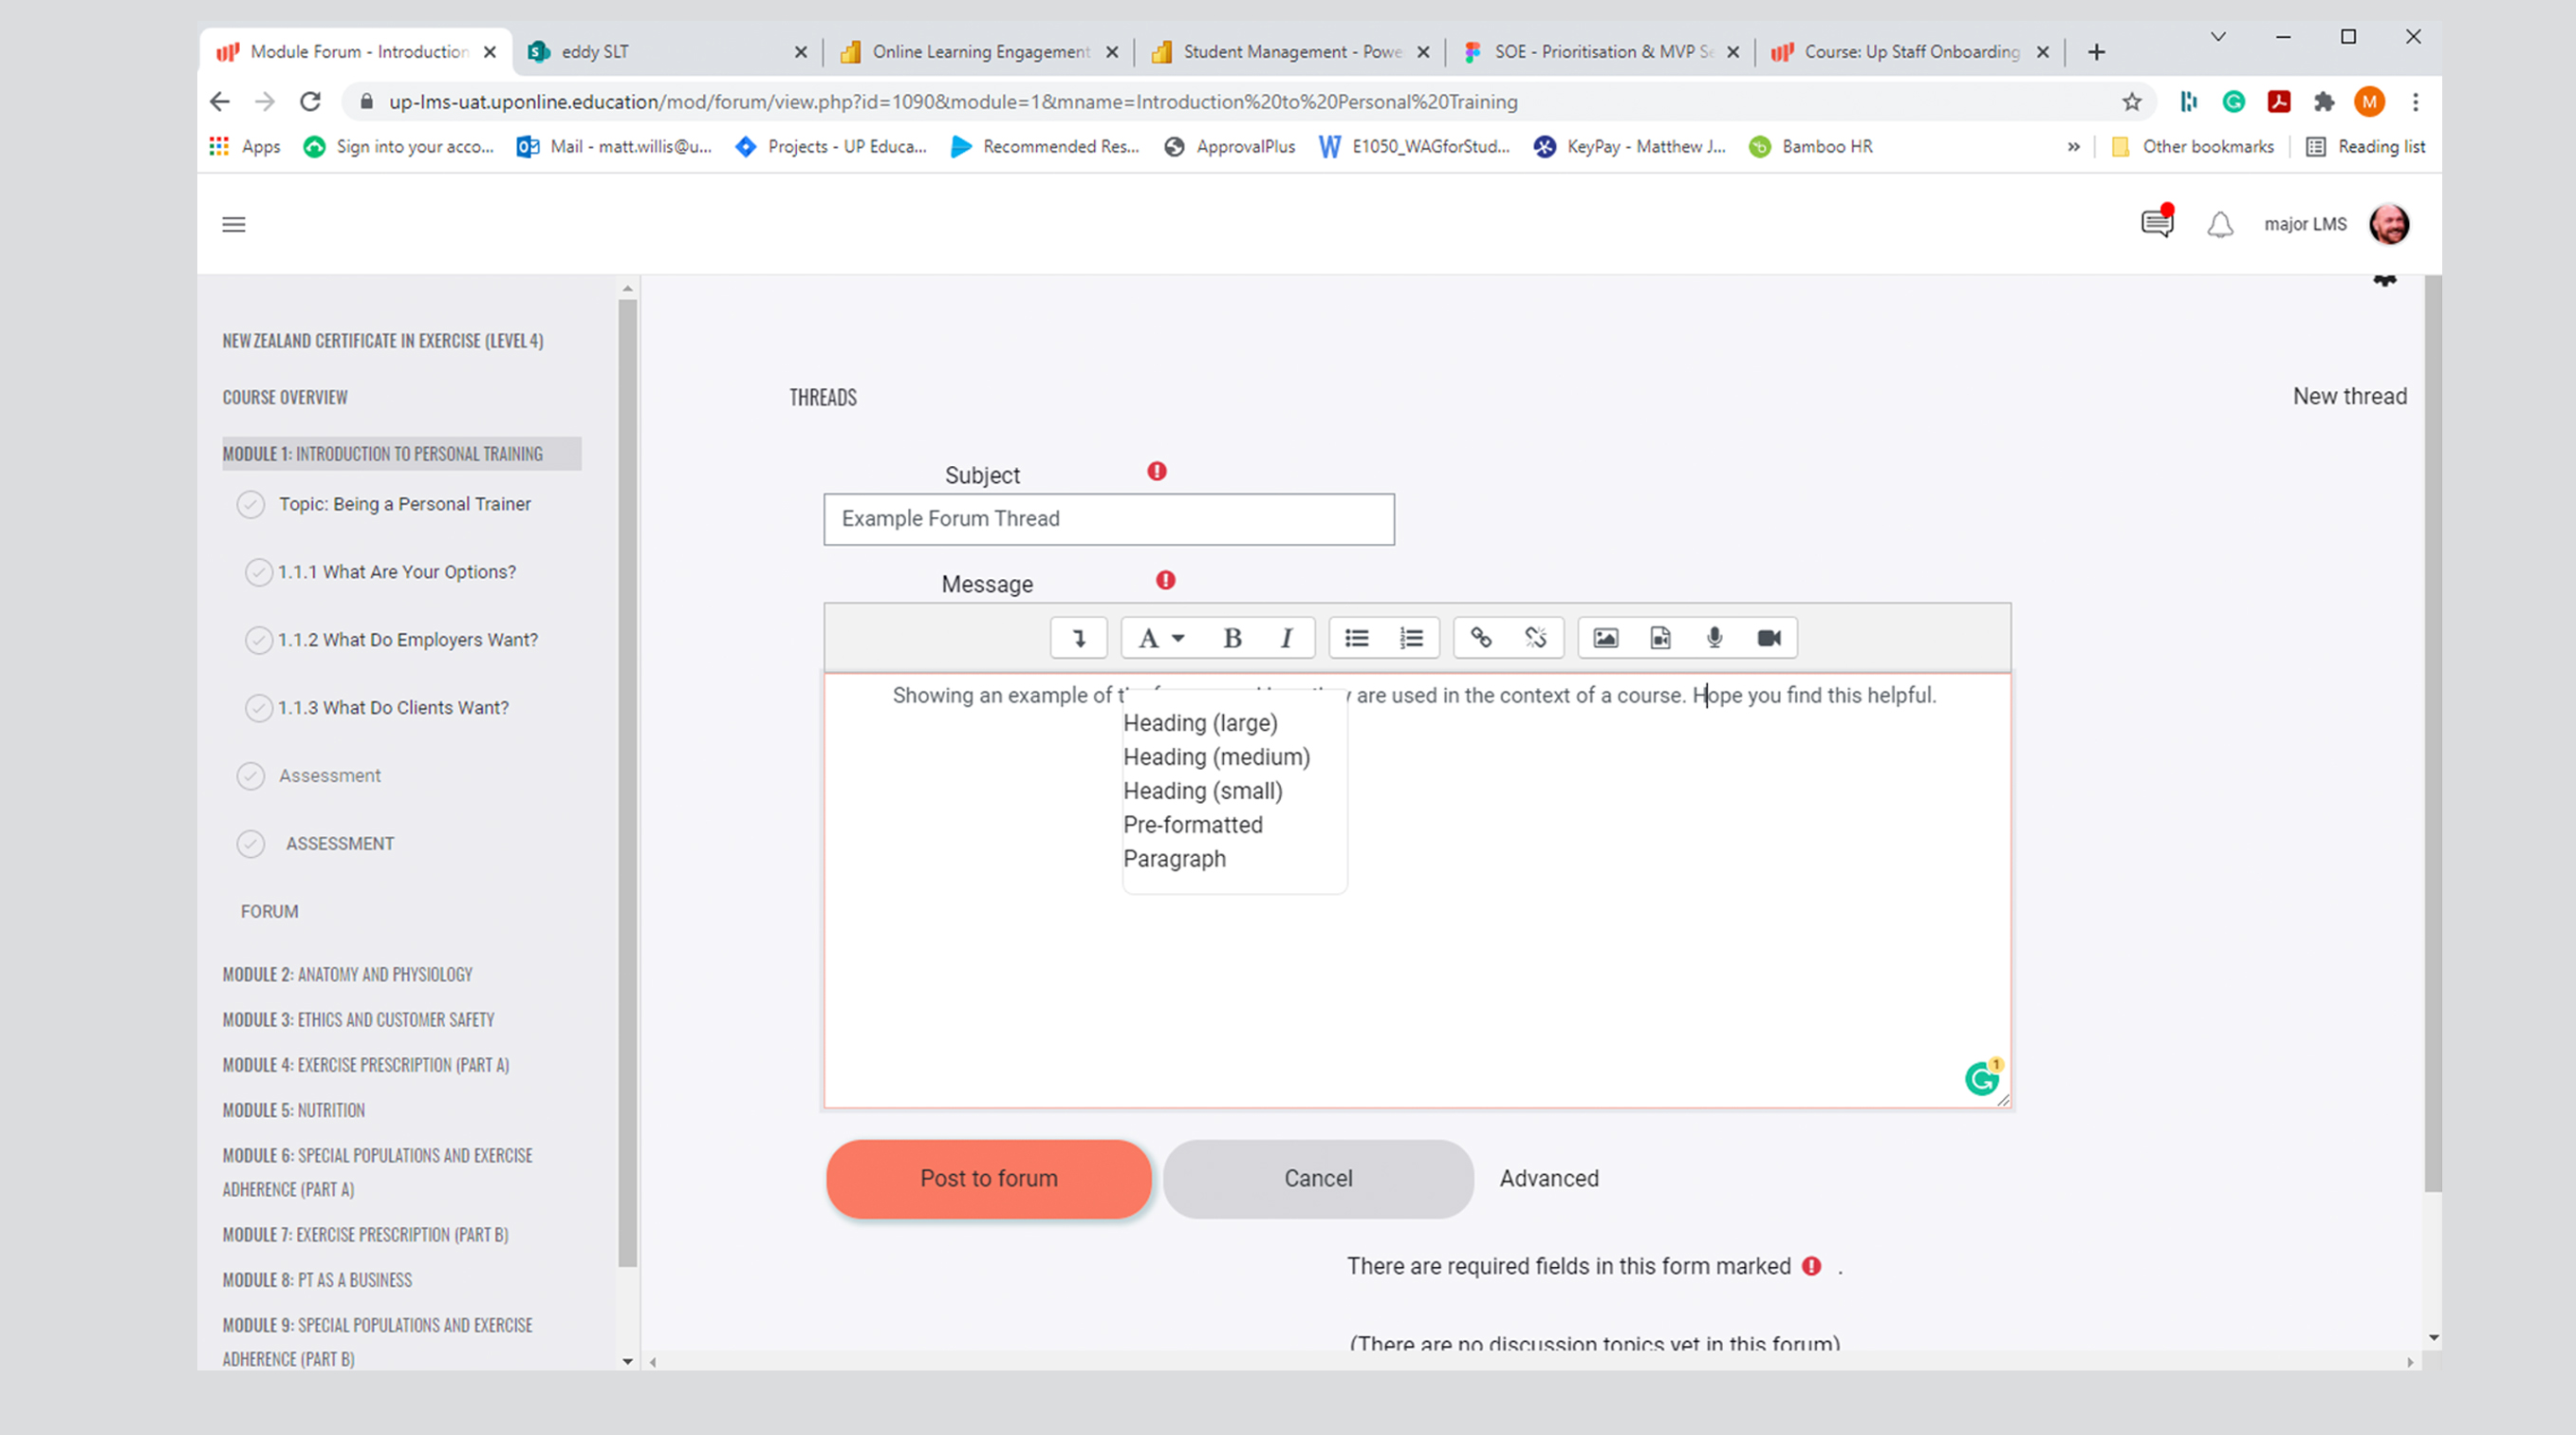
- Once completed you can simply click ‘Post to forum’ this will then enable the students to access the Forum and see the thread.
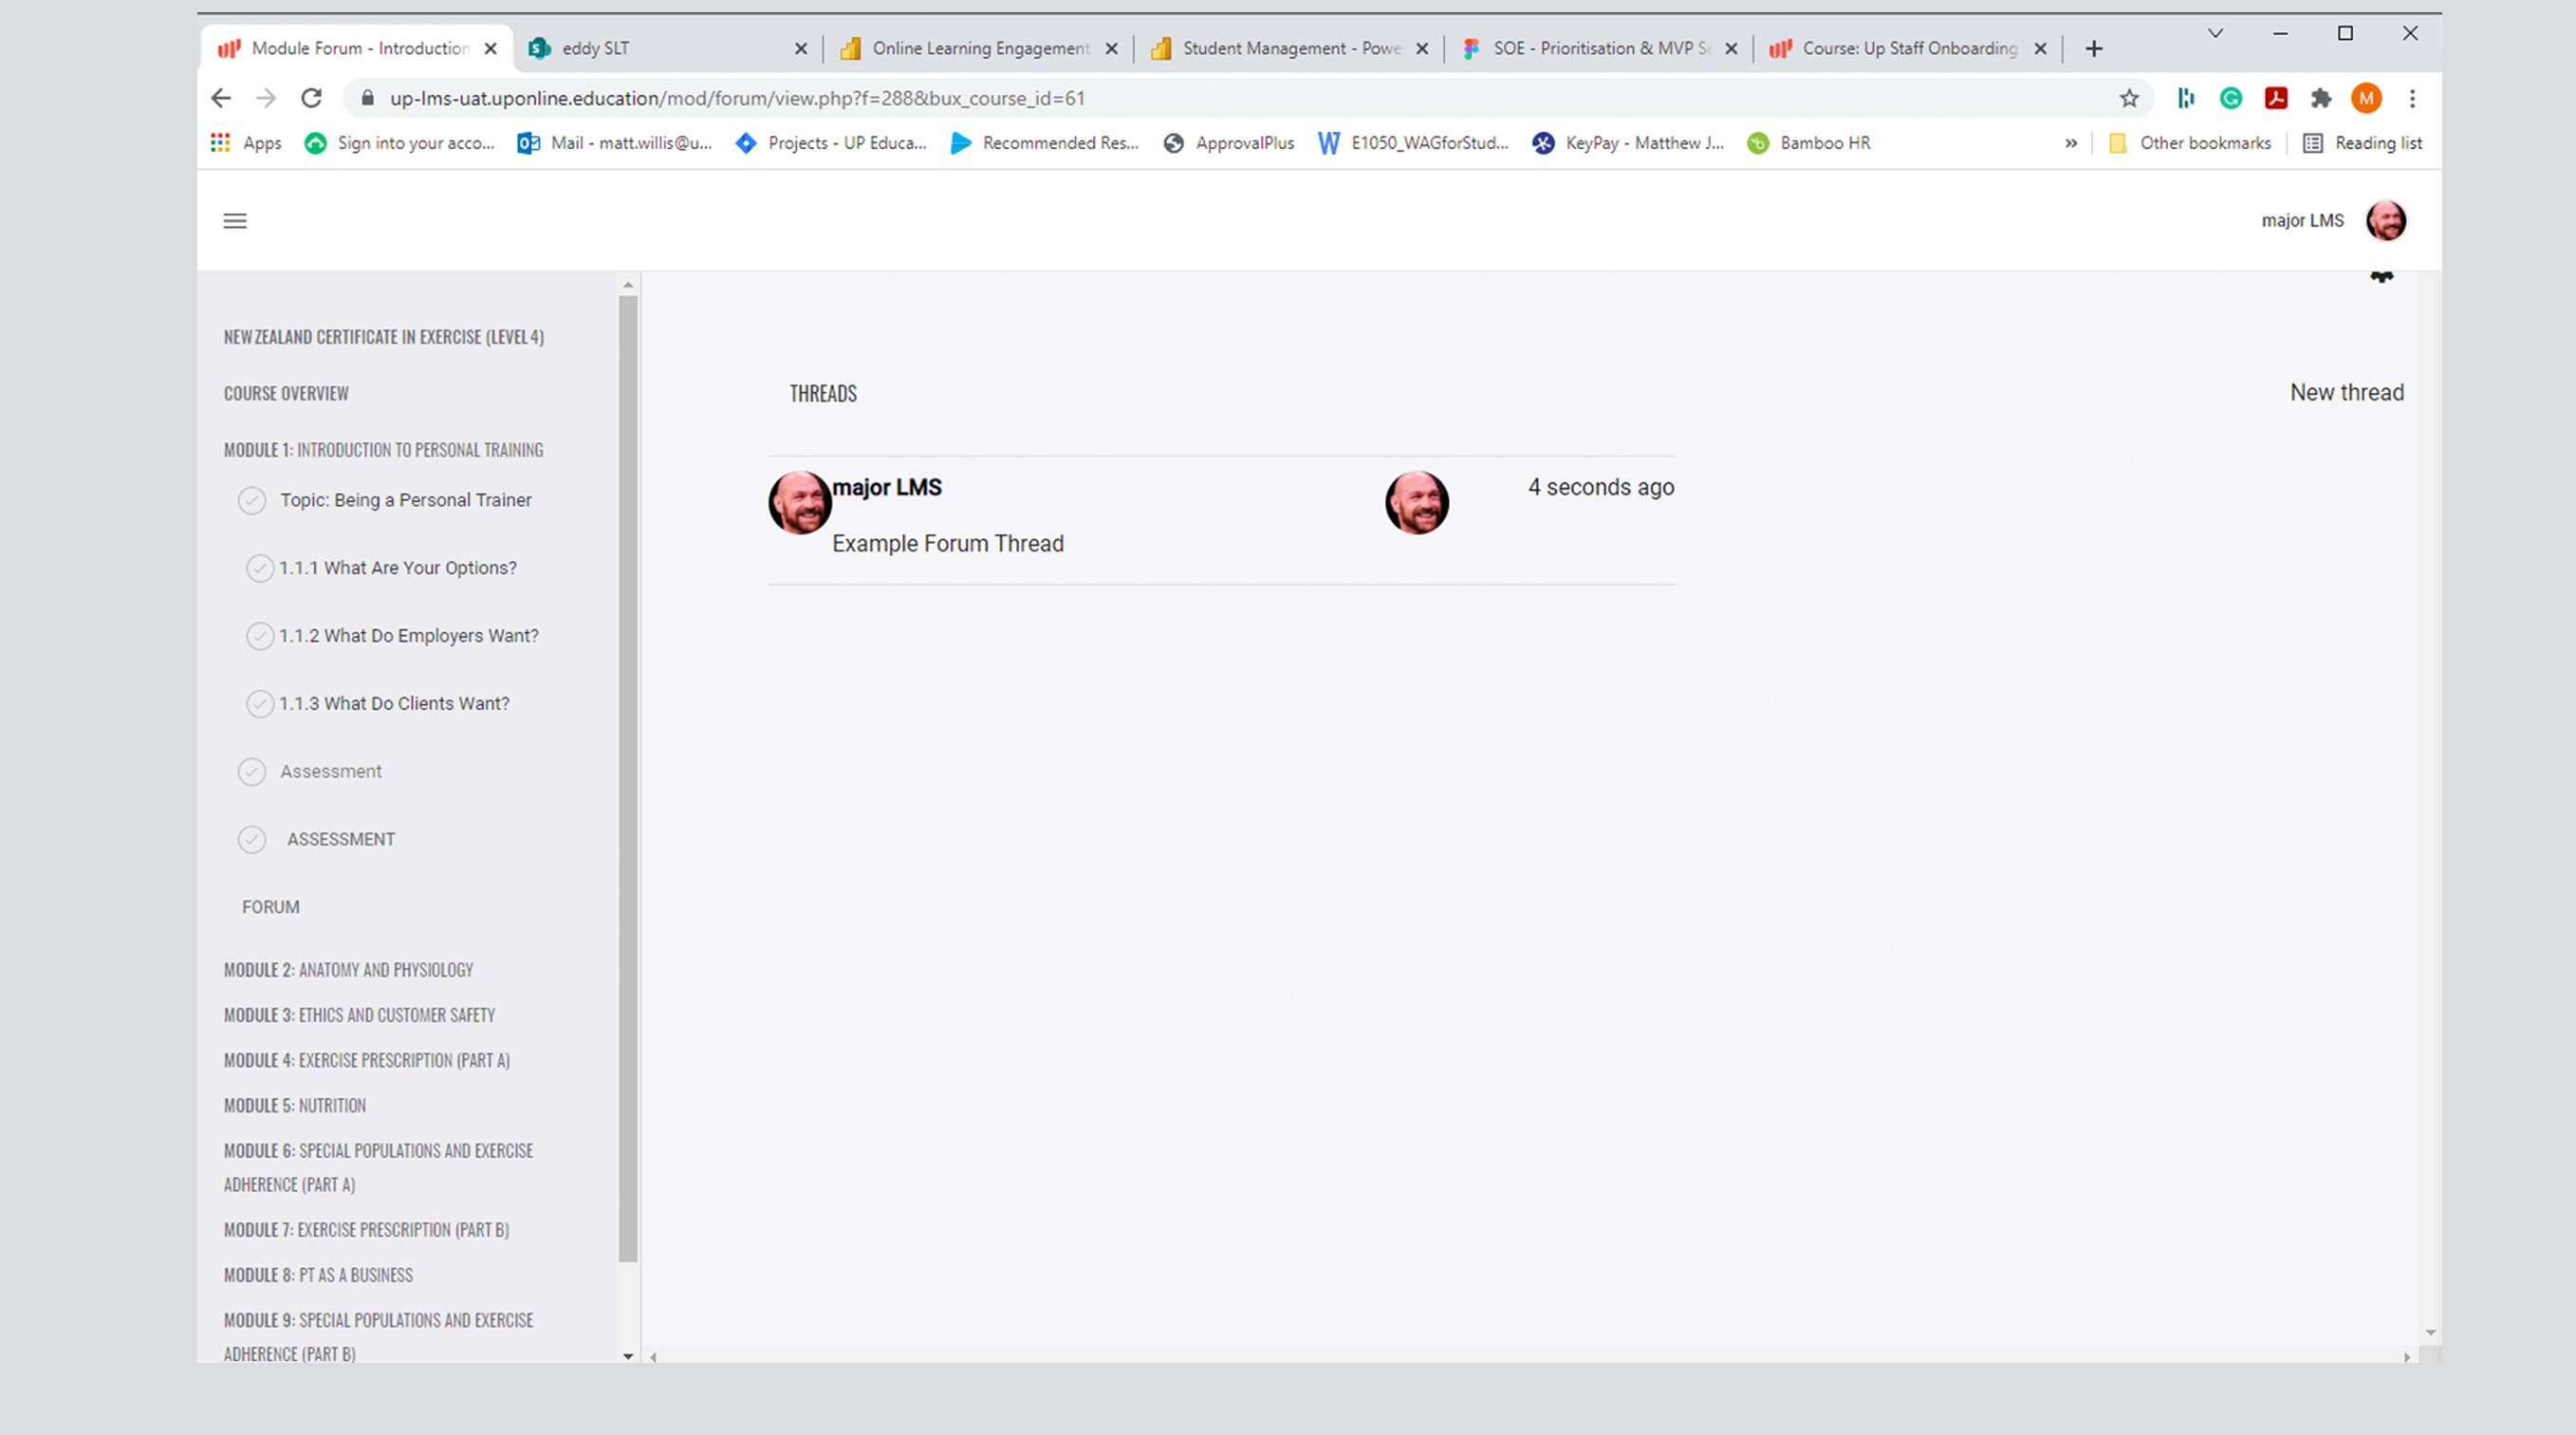
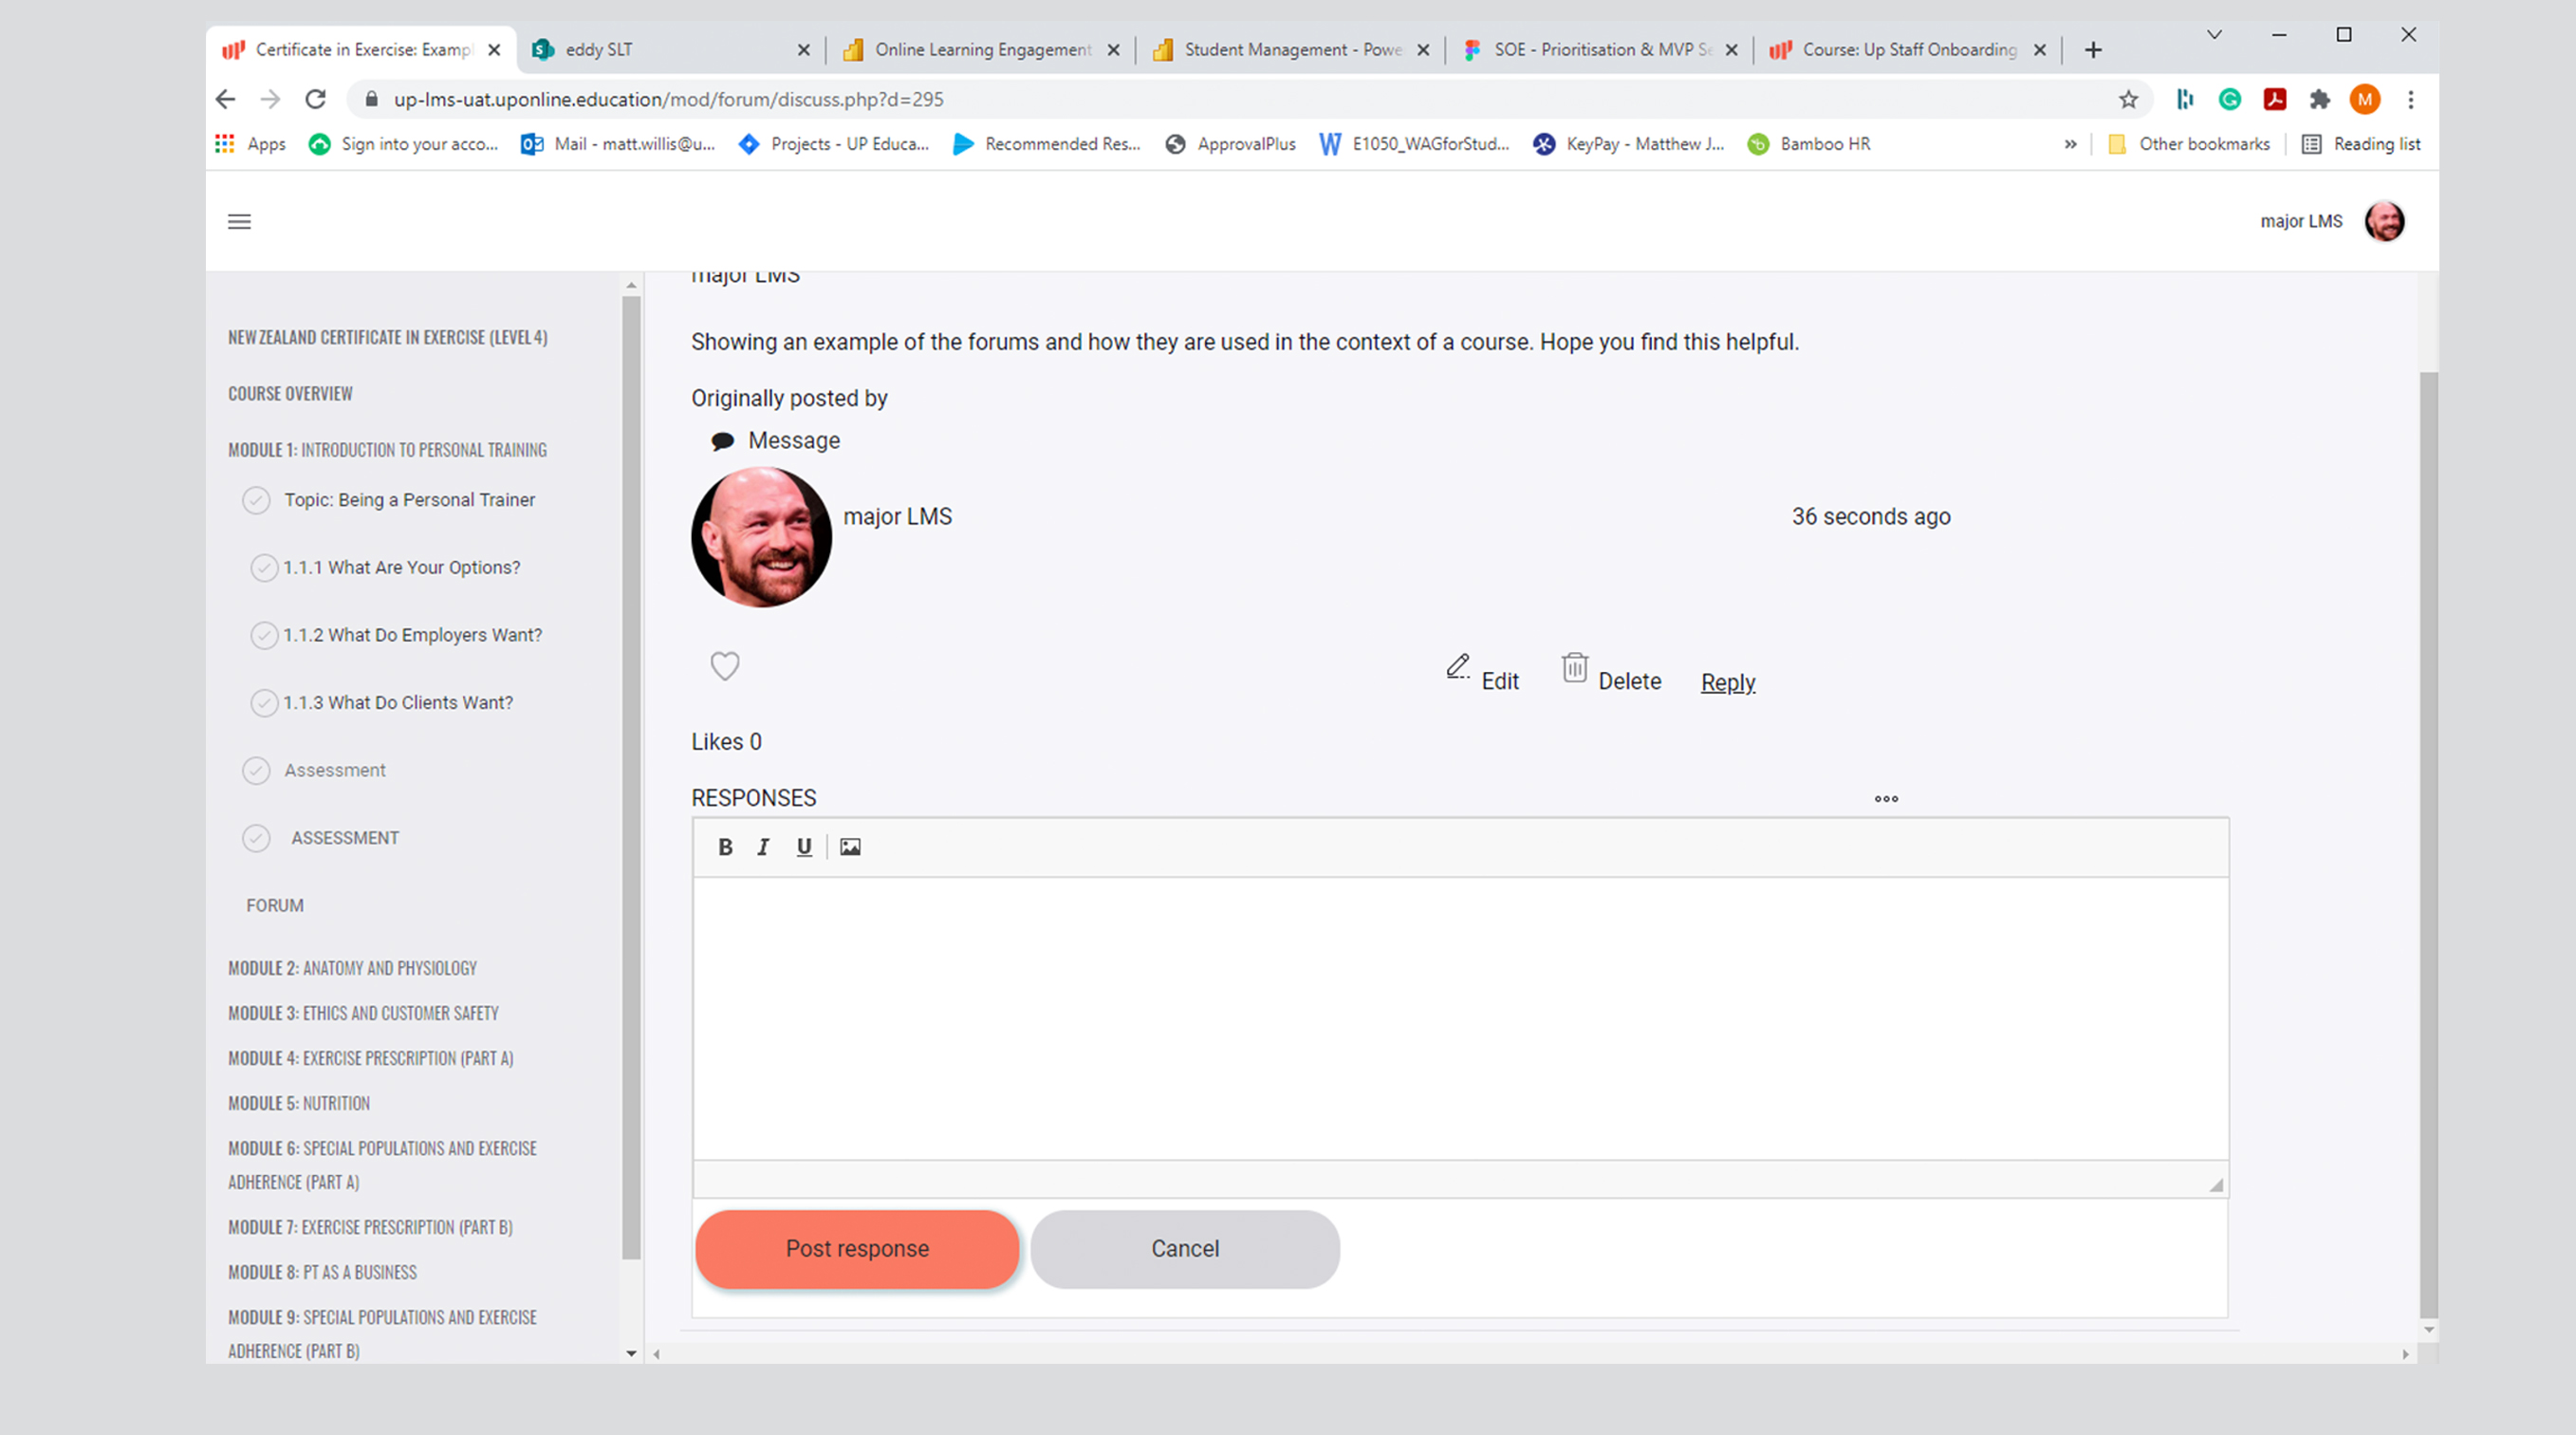
- Select the thread to view.
___
Forum Naming Guidelines
To ensure we have clear and consistent communication with our students, please follow the below guidelines and tips.
- Use the correct terminology – forum < thread < post
- Label the threads very clearly
- Maintain consistency across all Yoobee Online
- Clearly signpost where things are within Yoobee Online e.g. in X forum, the Y thread.
___
A. ORIENTATION/Regular News MODULE – 5 forums < 3 threads.
Forum title: Welcome/Orientation forum
Purpose - to be the launching place (week 1) for the intake.
Threads: (Choose a title based on the purpose, be sure to include dates and intake names where necessary)
- Day 1 – Intro to Programme | Welcome to INTAKE NAME
- Day 5 – Meet everyone (DATE)
- Getting to know the group (INTAKE NAME)
Forum title: Monday Posts
Purpose - to be the guiding/information place for the intake from week 2.
Threads: (uploaded as created)
- COURSE | Week # | Date | Intake code
Forum title: Live Session Recordings
Purpose - to be the place to access the recordings of the Live Sessions for the intake.
Threads: (Choose a title based on the purpose.)
- MONTH | INTAKE NAME (each month has all the live sessions located within the thread.) OR
- COURSE | Week # | Date | Intake code | Topic OR
- INTAKE NAME | Assessment launches or INTAKE NAME | COURSE NAME (each course has all the live sessions located within the thread.)
Forum title: Noticeboard
Purpose - to be the place to have the notices that the intakes need.
Threads: (Varies as it depends on the notice)
- YEAR | MONTH | Student Rep minutes
- YEAR | MONTH | Showcasing Exhibition Booklet
Forum title: Student Chitchat
Purpose - to be the place for students to chat is they want.
Threads: (Varies as it depends on the students)
B. PROGRAMME COURSE– each course has 2 forums.
Forum titles:
- Topic Discussion forum eg. UX Design Discussion forum
- Creative Activities forum (or the name that the formative activities have been given in the course)
___
Topic Discussion forum
- This name will change depending on the topic/section.
- Will need to be within each topic/course.
- Contains all the discussions around anything and everything, within this section of the programme.
- Doesn’t contain discussions around the Creative Activities.
Creative Activities forum
- Only for the formative activities within the section/course.
- If you would like to edit the ones created by Eddy, redo them. You may find that the blurb is bland
- If you adjust the thread, be mindful of the naming Module #, Title of the Creative activity . e.g. 1.8.5 Research plan for observation of age groups.
__________
Calendly is a booking system that allows a tutor to schedule times that a student can book a meeting. It manages the meetings by creating an easy access link for you and the student, and syncs with your Outlook calendar.
You can create a Calendly event for 2 people, i.e. you and the team leader, or you and Online Learning Support. You can create different events for different purposes i.e. general 1:1 sessions, assessment focused sessions. You can manage the settings so that Calendly sends reminders, thanks the student for coming as well as requires the student to write why they are meeting you.
LINK HERE for Calendly How to Guide.
Add your Calendly link to your signature in emails and the Monday post.
__________
Live Sessions are a feature of Yoobee Online that allows you to book and run video meetings with students via Zoom.
Live Sessions are found in the left hand menu once you are in a programme in Yoobee Online.
All detailed information regarding Live Sessions is found in these attached pdfs (LINK HERE to the Guide and LINK HERE for FAQs), including information on recording, editing and uploading the meeting recording to Yoobee Online.
Recordings are uploaded to Live Sessions Recordings (found in Orientation\Regular News), via Panopto.
If you experience any issues with Live Sessions: please email IT Helpdesk.
__________
We all know that when we speak; the words we use, body language and facial expressions as well as our tone of voice can affect how people respond to what we are saying. For our students to have the best possible experience at Yoobee and to be successful in their learning, we need to ensure all our communication is highly effective.
This is especially important in an online environment, when most of our communication is written and therefore, easy to mistake the tone and the intent of the message.
Below are some guidelines and tips on how to best represent the tone of Yoobee and best get across your messages:
- Remember that students are humans first, students second, life issues sometimes take priority and that is ok. Be kind and empathetic in your communications.
- Be proactive, ask questions.
- When asking questions, you are required to listen - practice active listening LINK
- Ask open ended questions. Open-ended questions are questions that can’t be answered by a ‘yes’ or ‘no’ answer,; they require the respondents to give more information. This will then help you understand the problem or issue.
- Always check your spelling and punctuation. Format into manageable chunks.
- Check pronouns. Names may cross genders, i.e. Cameron, Alex, Sam and students may identify as gender M, F and X.
- Never write anything you would not say in person. Be careful in your communication, always be kind and polite.
- Always be positive and solutions focussed.
- For video calls/meetings: Check your background, do you need to blur it out? Check the angle your camera is set to, is this the best view for a student to see? Run a test prior to the start of the call to ensure your microphone and video is working.
Helpful links:
https://youtu.be/WUc0TkYyhwI
https://youtu.be/dFQWz6m9WLM
__________